This guide will walk you through how to update the BIOS on any Asus motherboard that has the EZ Flash 3 BIOS update utility. Before getting into the step-by-step guide, you'll need a USB flash drive in a FAT32 format.
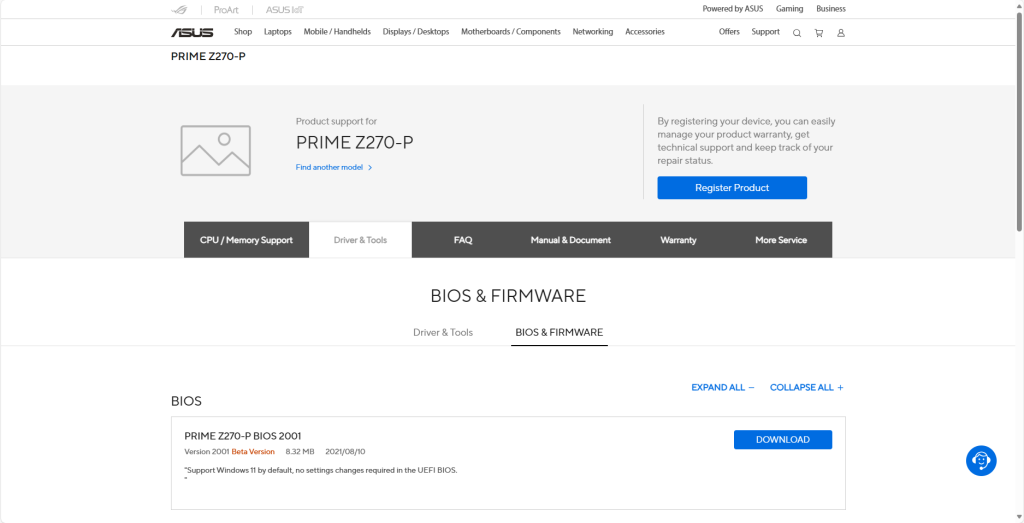
Download the latest BIOS file for your specific motherboard from the Asus Download Centre and save it to the USB Flash Drive. To find out what model of motherboard you have, refer to your UK Gaming Computers invoice.
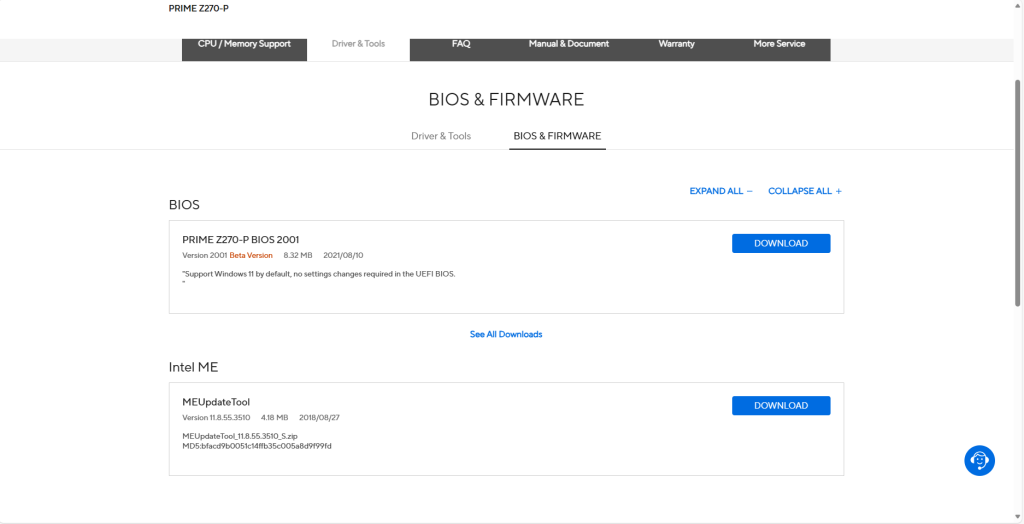
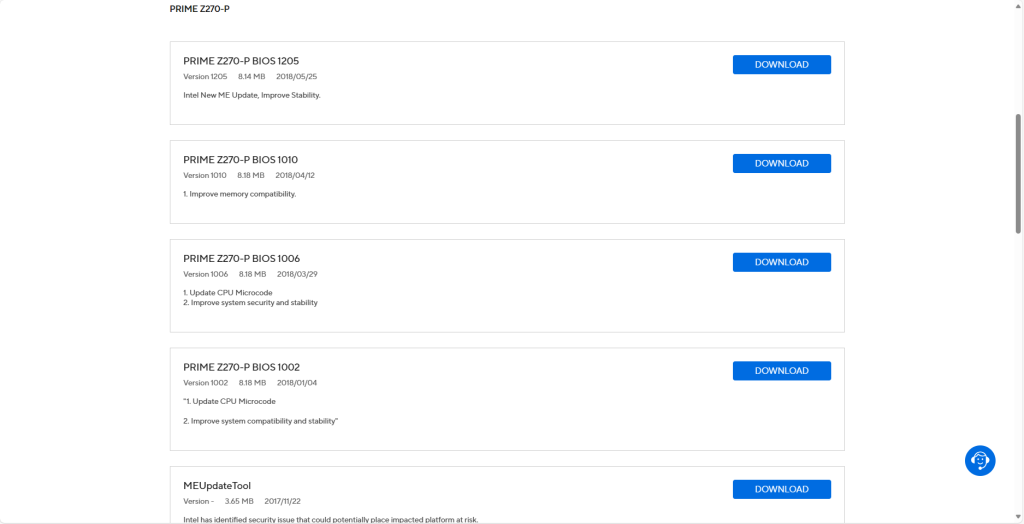
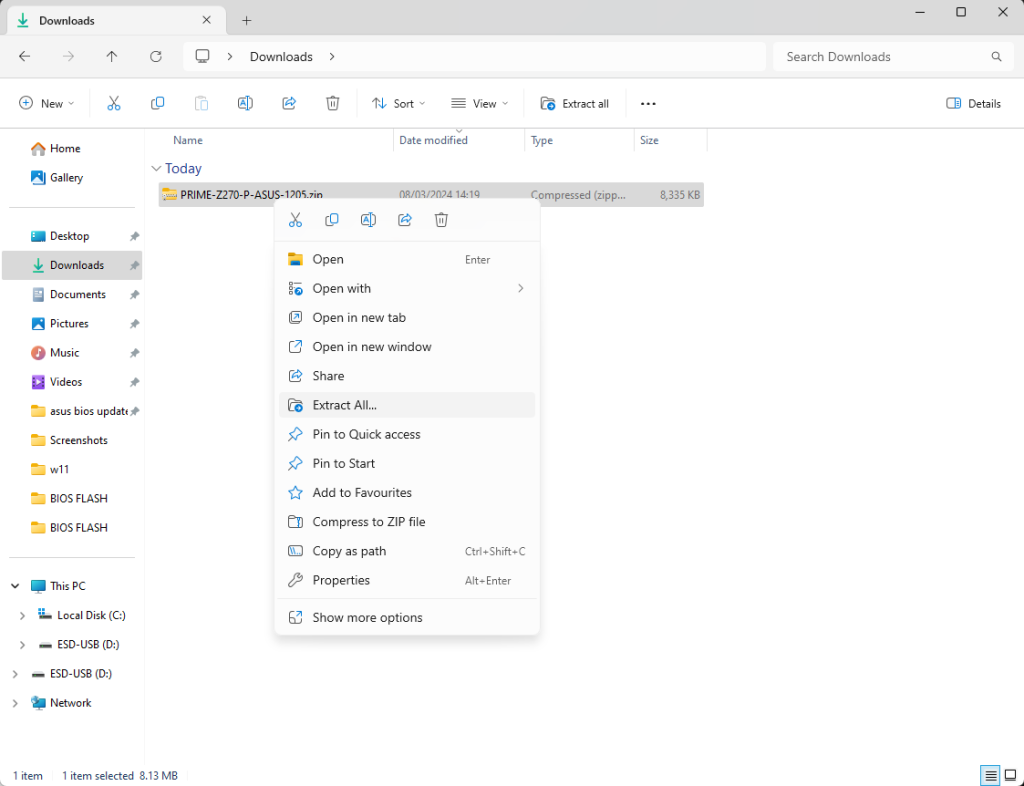
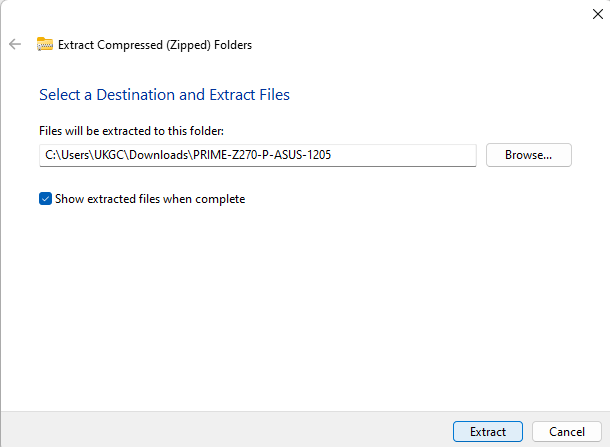
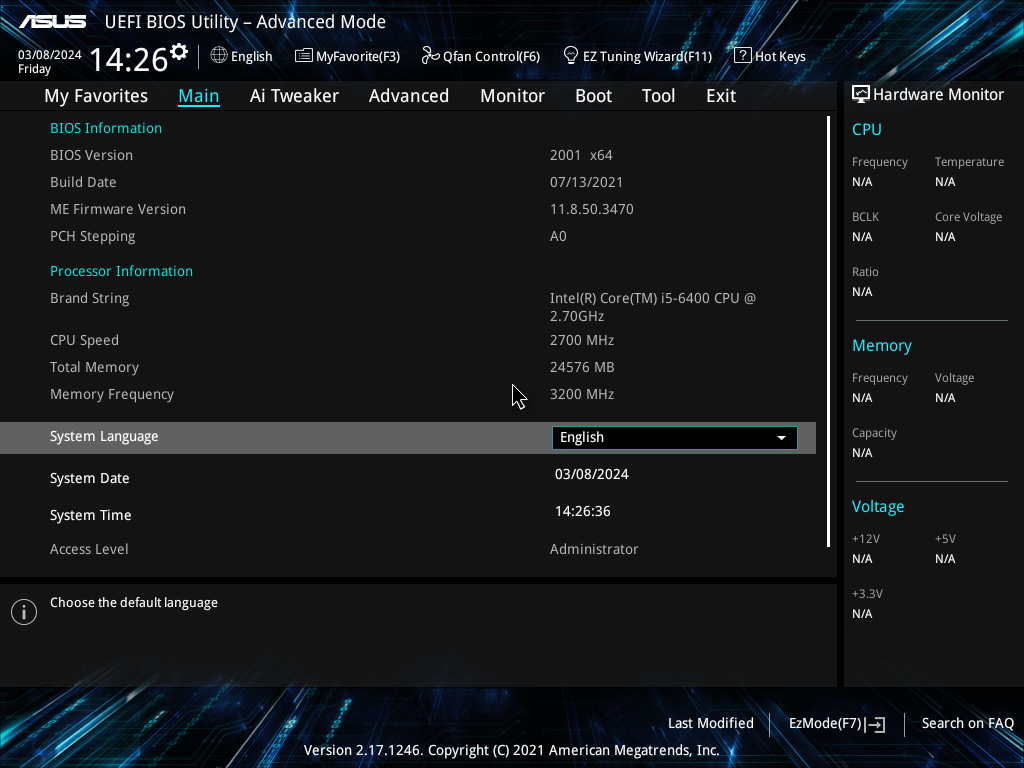
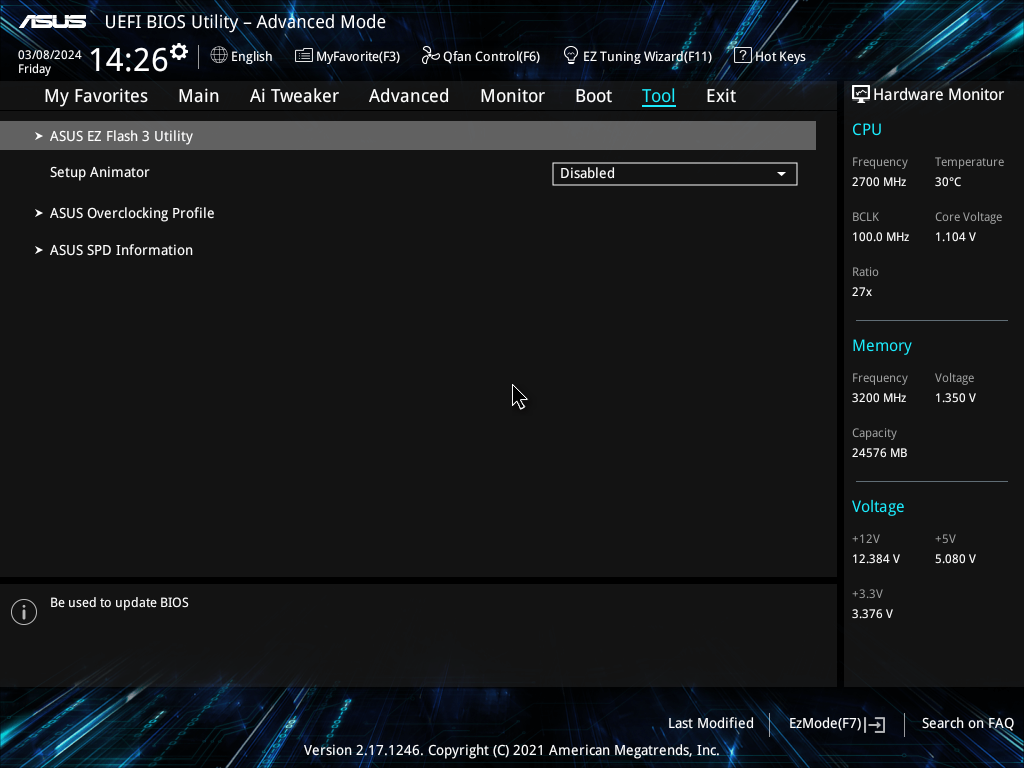
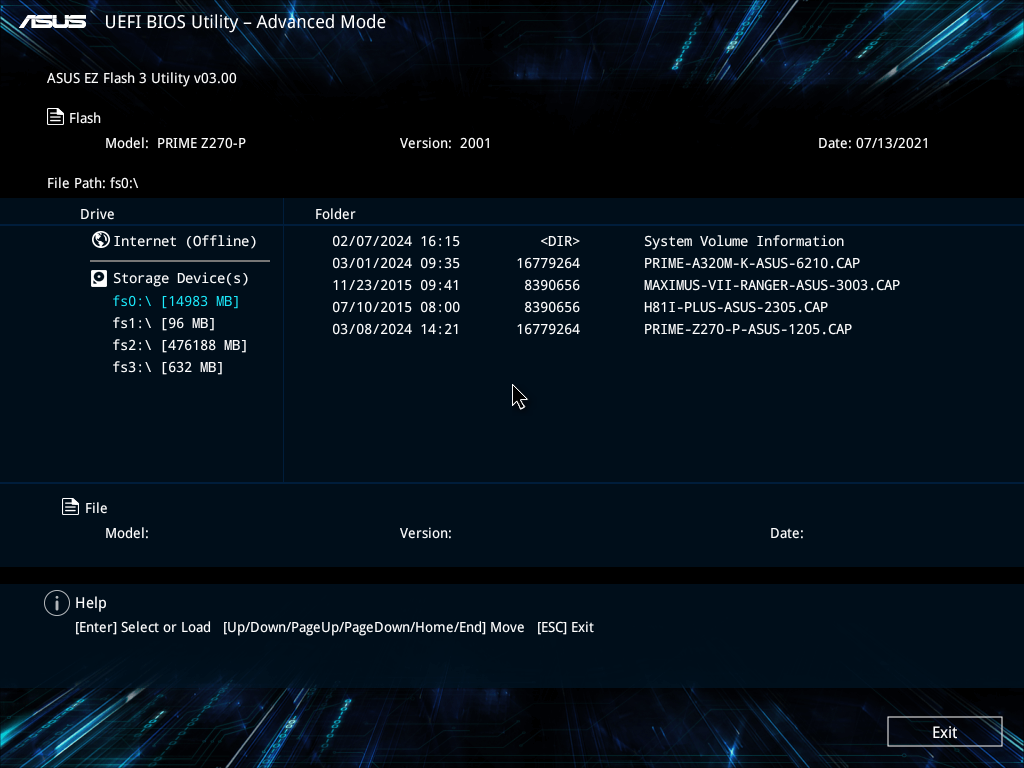
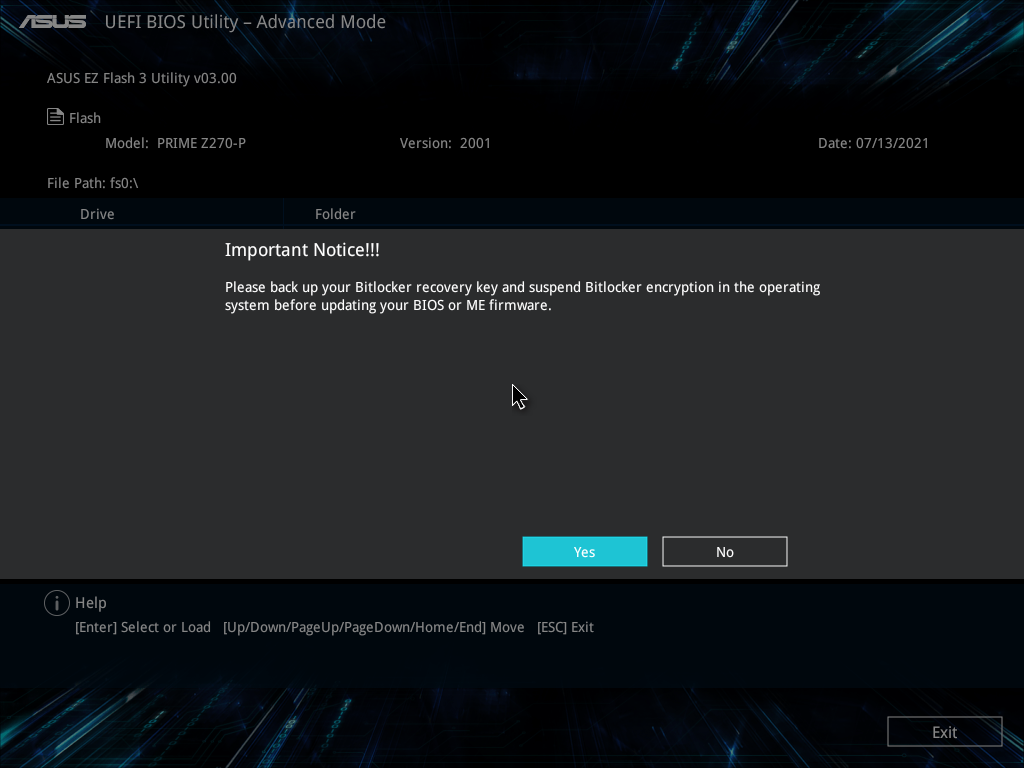
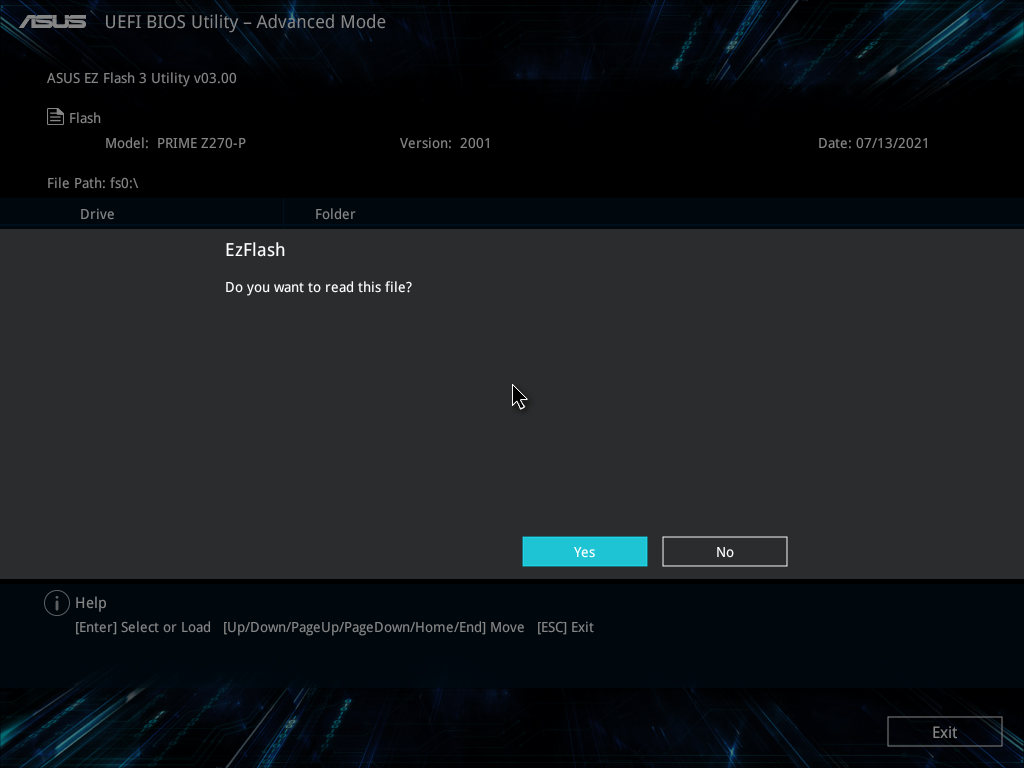
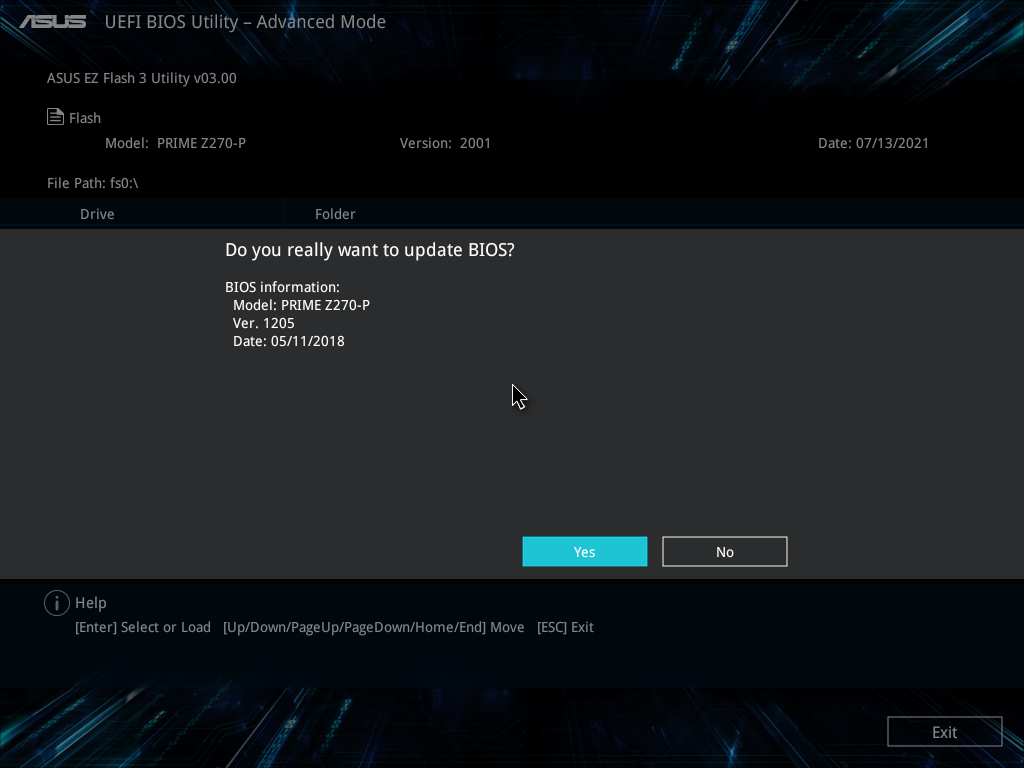
Once you've found the motheboard in the Asus Download Center, go to the "Drivers & Tools" page.On the "Drivers & Tools" page for your Motherboard, go to the BIOS & FIRMWARE tab.Download the most up to date BIOS version, it should be right at the top.Once downloaded, move the .zip file to your USB Drive and Right Click > Extract All...Leave the default settings and click Extract, once this has completed you're all done and can turn the PC off.Turn the PC on and repeatedly press the Delete key on start-up, you should see a page like the above. Press F7 to get to Advanced Mode.Once you're in Advanced Mode, use the arrow keys on the keyboard to navigate to the "Tool" tab, then navigate to "ASUS EZ Flash 3 Utility" and press enter.You'll need to find the .CAP file you extracted on the USB drive here, for me it's located it automatically but you might have to manually locate it. Press enter once the file is highlighted.If you get this prompt, select yes.Click yes.And again.
That's it, all done! The PC will restart and go back into the BIOS. Once loaded, press F10 to Save & Exit and it'll boot back into your Operating System. If for some reason it doesn't boot into Windows, check in Boot > CSM Settings and check if CSM is enabled, if not, enable it.