Your new PC has arrived and you're almost ready to get gaming, you might not think you need a guide on how to unbox the PC however there are a few important points that you don't want to miss! If you haven't read it already, there is a plethora of important information in our new improved setup guide, which you can find here.
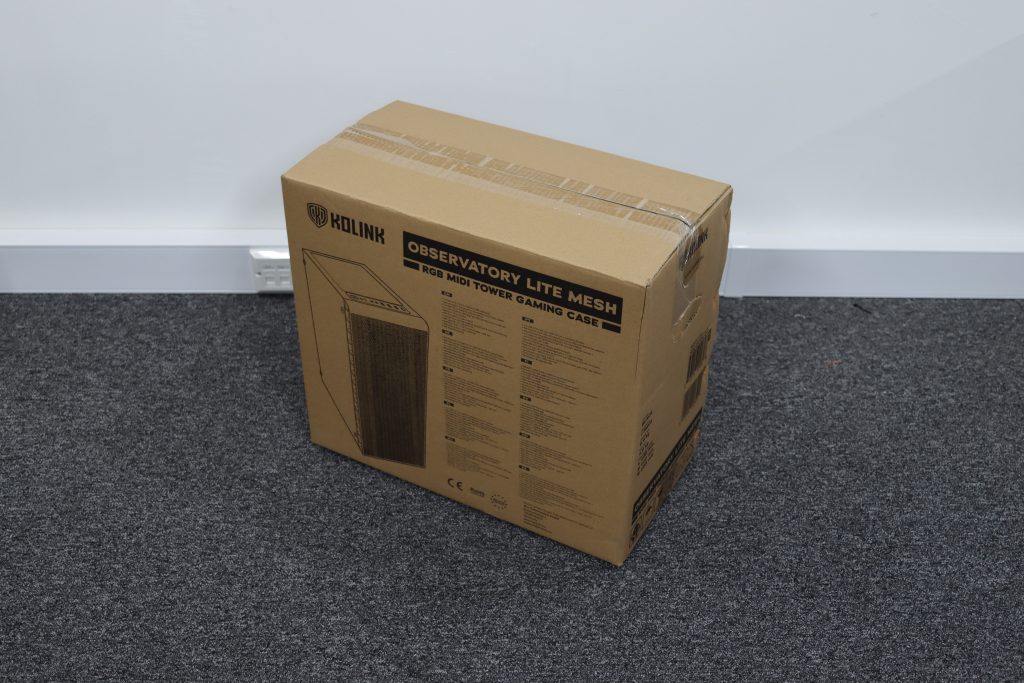
1 - CHECKING BOX CONDITION
Every single one of our PCs is meticulously packed into two boxes to ensure your shiny new PC gets to you in tip-top condition, the external case box which you've hopefully got in front of you is there to protect from general shipping wear and tear so a small amount of damage on this external box is nothing to worry about.
If your external box has been damaged to the point you think the PC itself may be damaged then please contact us immediately, at this point it would be good to take some photos of the packaging making sure at least one photo clearly shows the DPD shipping label. This is so we can help you through the process of unboxing the PC and checking it for any damage.
2 - ORIENTING THE BOX
DPD should have delivered your box in the correct orientation, with the "This way up" stickers pointing, well, up.
This is the orientation you'll want to unbox the PC in so make sure you correct this if DPD got it wrong.

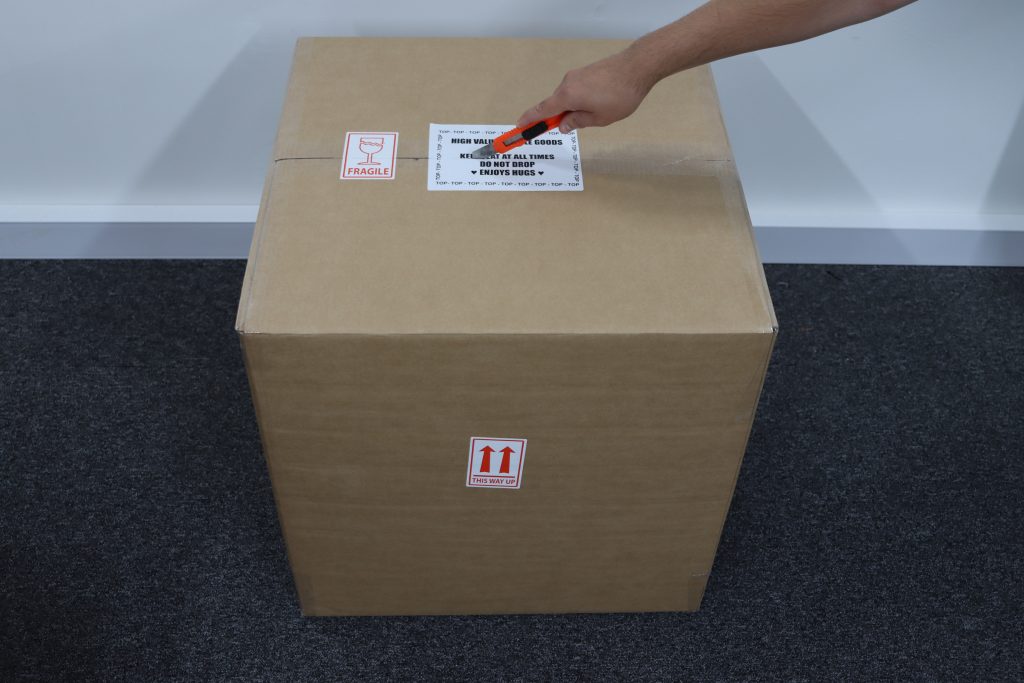
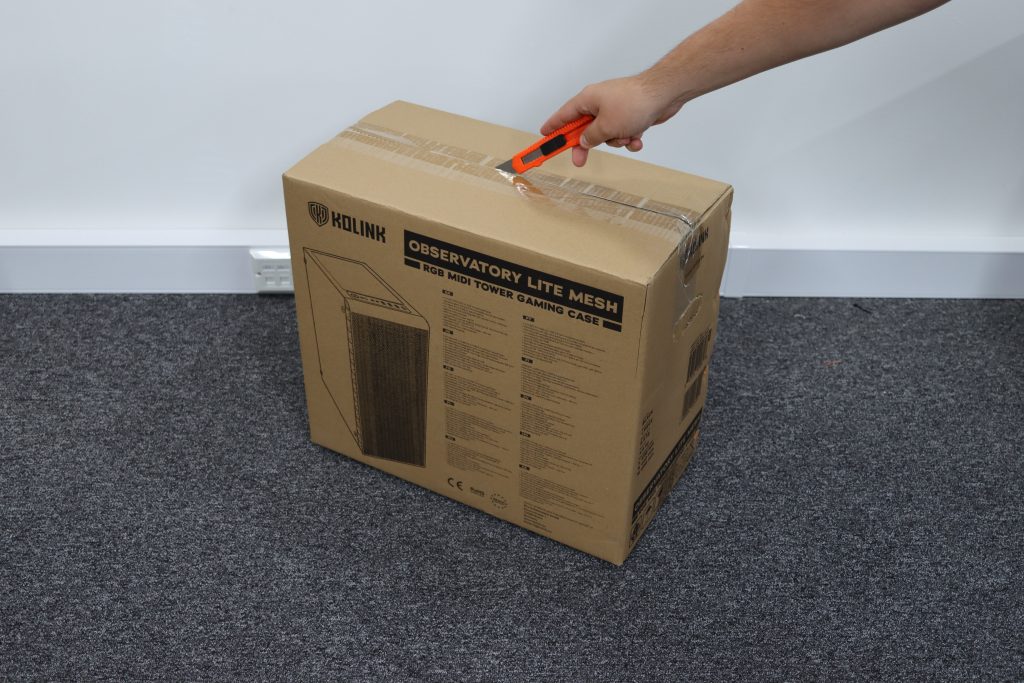
3 - TOOLS YOU MIGHT NEED
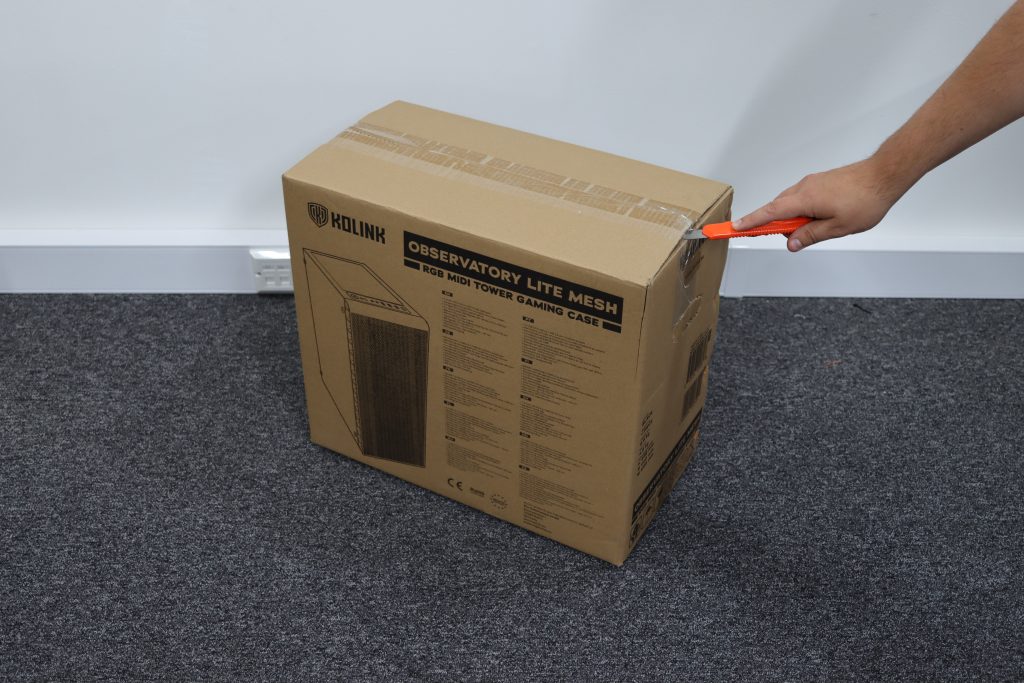
We'd recommend using a utility knife if available to cut the tape on your boxes, if you do not own one, a pair of scissors is the next best thing. Try to steer clear of kitchen knives that could pierce deeply into the box, these could cut into things inside the box. We would strongly recommend getting a parent or guardian to do this bit for you, as sharp objects can be dangerous, unless you're like 30, then I'm sure you can probably be trusted with a knife.
Furthermore, depending on your system, you may need a Philips head screwdriver to remove the side panel to remove any internal packaging. More help on this step can be found below.
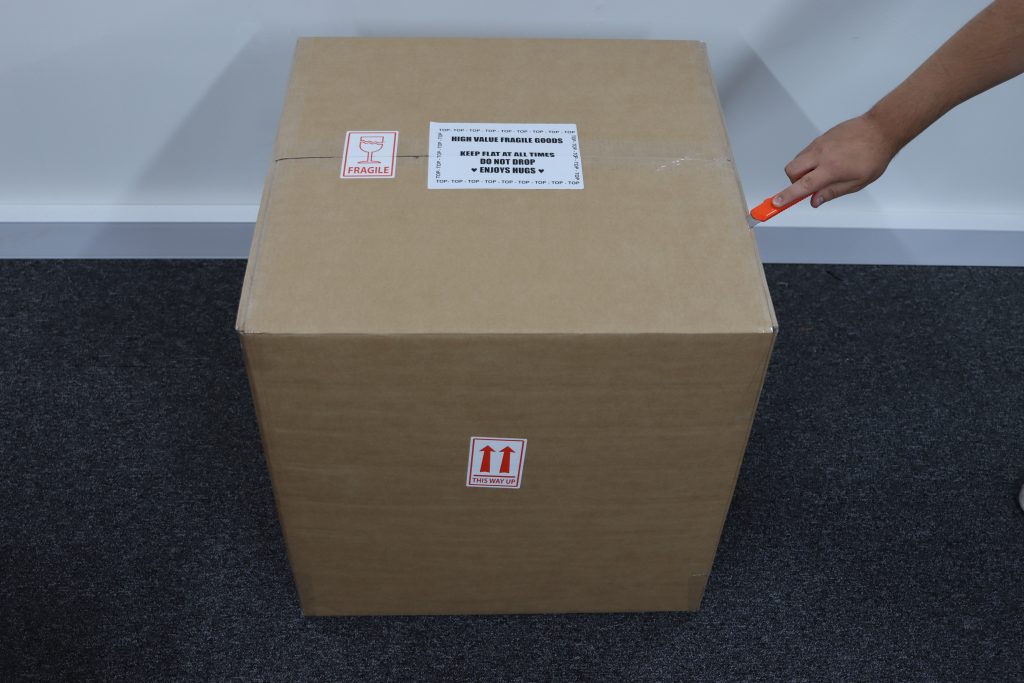
4 - OPENING THE OUTER BOX
Using your knife or scissors, carefully slice the tape down the main length of the box, and the tape covering each end, then open the top flap.
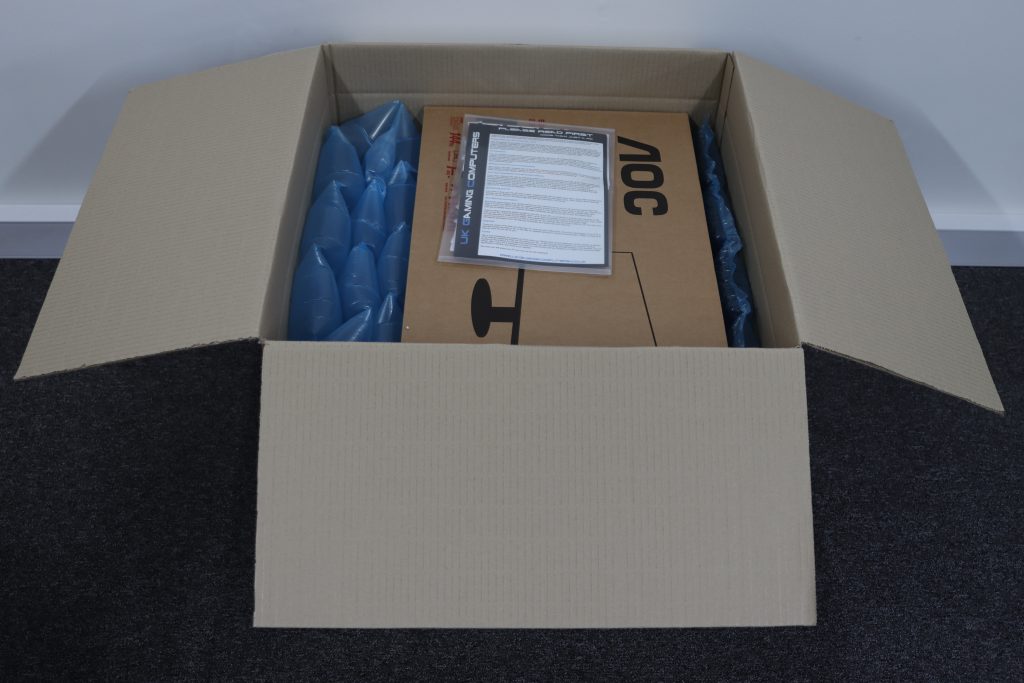
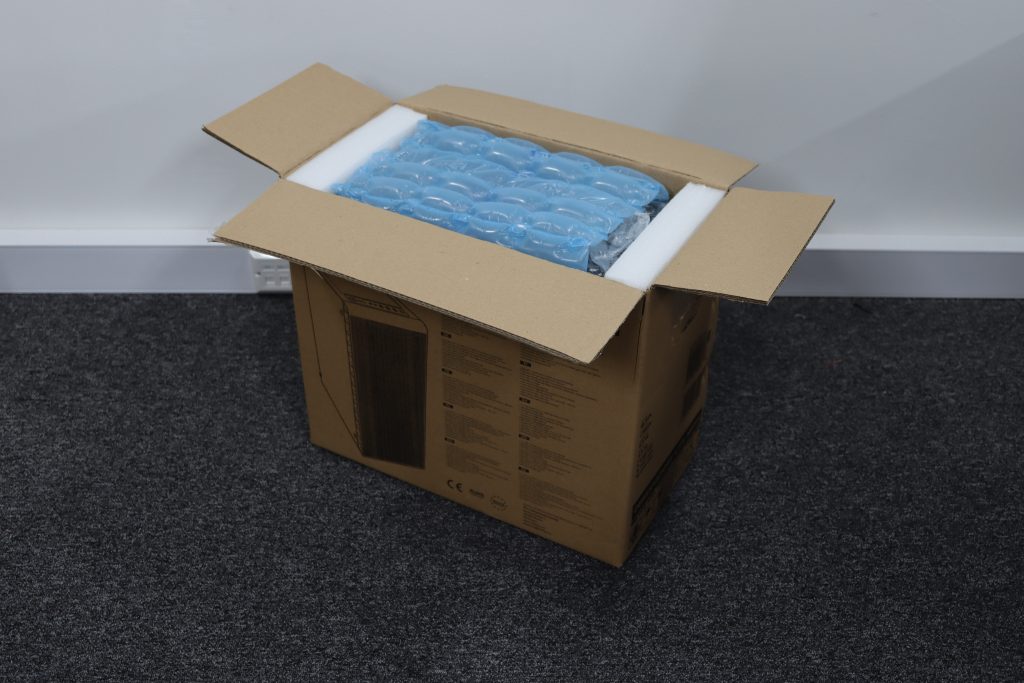
This will expose the void fill for the outer box, remove this packaging and place it to one side, leaving the main PC box and any extras. This will either be in the form of air bags, or planet-saving recycled packaging. If you have the opportunity to re-use this void fill packaging material, please do!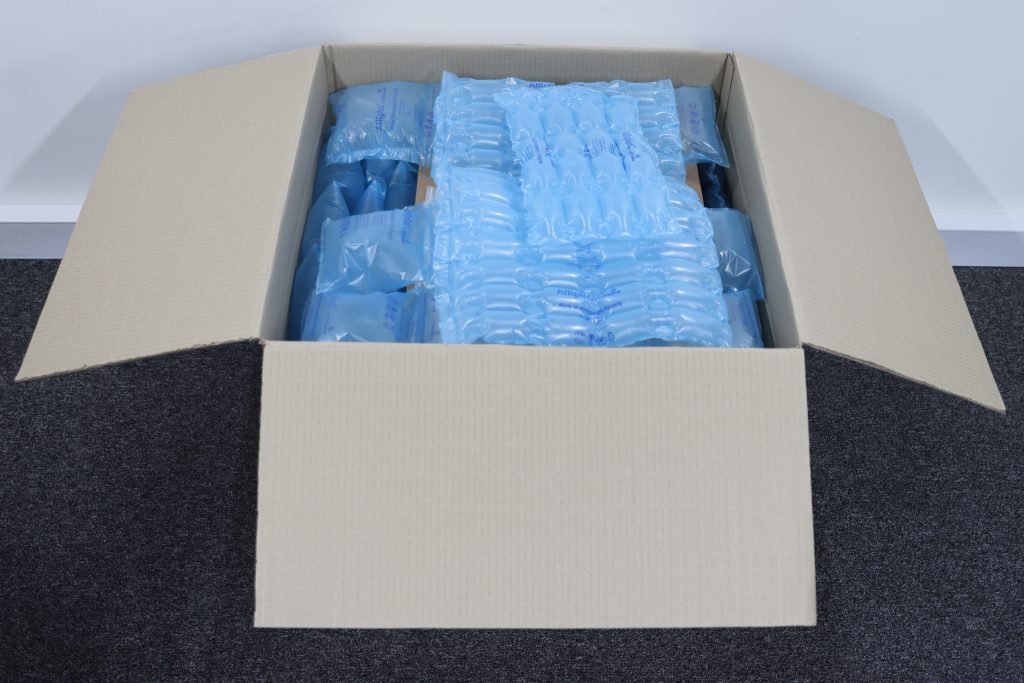
5 - INCLUDED EXTRAS
Your system will come with a clear A4 document wallet which contains very important information regarding the setup and usage of your brand new PC. This includes the "Please read first" sheet which we strongly advise reading in full. In addition to our "Please read first" sheet will be any original component manuals and discs, as your system has already been lovingly built by UKGC, you can ignore these. This wallet may also include wireless antenna, and a bootable Windows USB if needed in the future.
If you've ordered any software licenses such as Microsoft Office, a USB Bluetooth or wireless device, these will also be in your clear document wallet, as well as an instruction sheet and warranty information card, so we'd recommend keeping this somewhere safe.

If you've ordered a monitor from us that is 24" in size or smaller, this will come included in this outer box, any monitors larger may be sent separately. All monitor cables should be inside the box, however if cables aren't included we'll include an adapter or cable to make sure you've got everything you need. It'll also include any peripherals such as a keyboard and mouse, if ordered.

Finally, your main power cable (kettle lead) will be in this box. Sometimes this cable can fall into the void fill and be hard to spot, rest assured this cable is in there so just be careful you don't bundle it with the void fill.
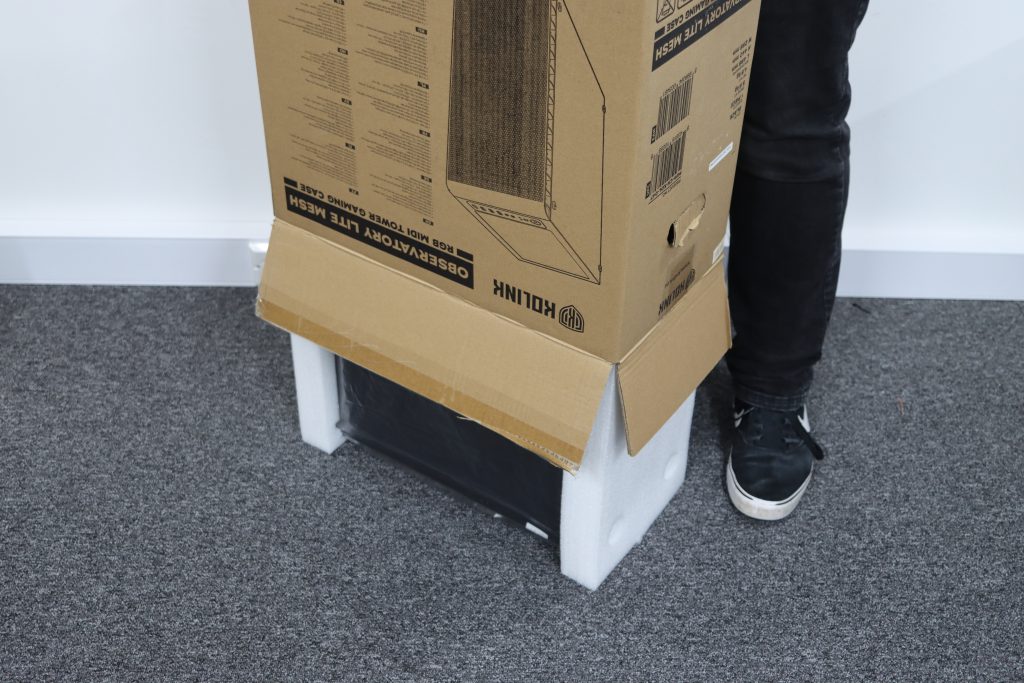
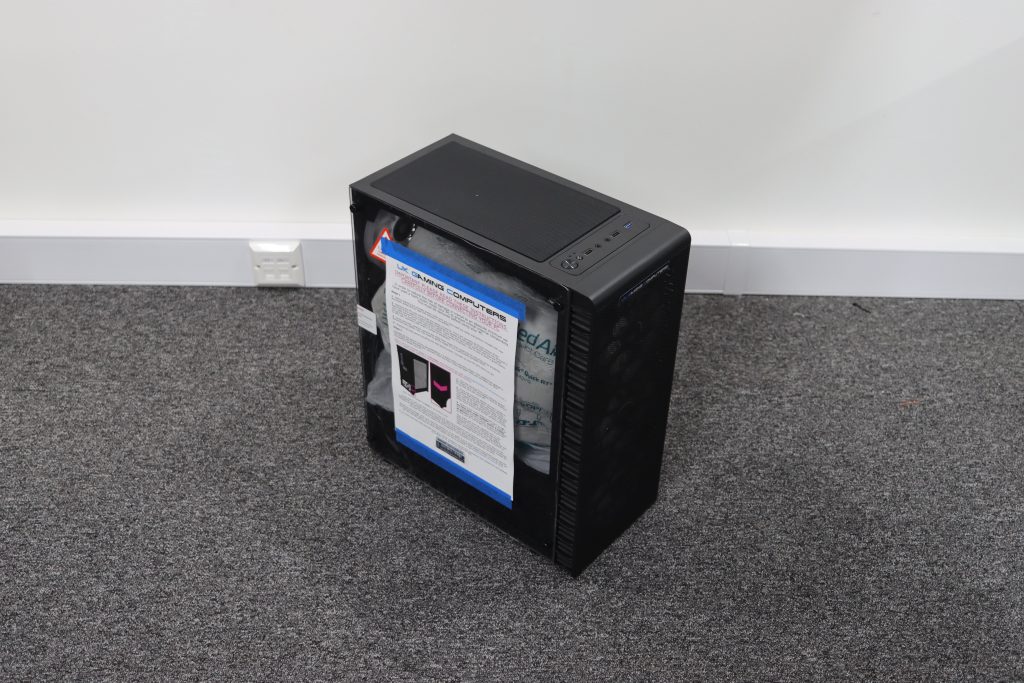
6 - REMOVING THE PC BOX
Now that you've placed all of your included extras to one side, you can lift the case box out of the external box, orienting as shown.
7 - OPENING THE PC BOX
Similar to how we opened the outer box, slice the tape along the middle of the box and the tape covering the sides, and fold back the 4 flaps, exposing the packaging within.
8 - REMOVING YOUR PC
There will be some further void fill in this case box, down each side of the system and on top, remove this filling and place to one side.
The easiest way to gently remove your system from the box, is to fold all 4 flaps back, and place the box on its head, carefully sliding the box up, exposing the PC.
Alternatively, you can use your legs to hold the box in place. and then simply lift the PC out of the box.
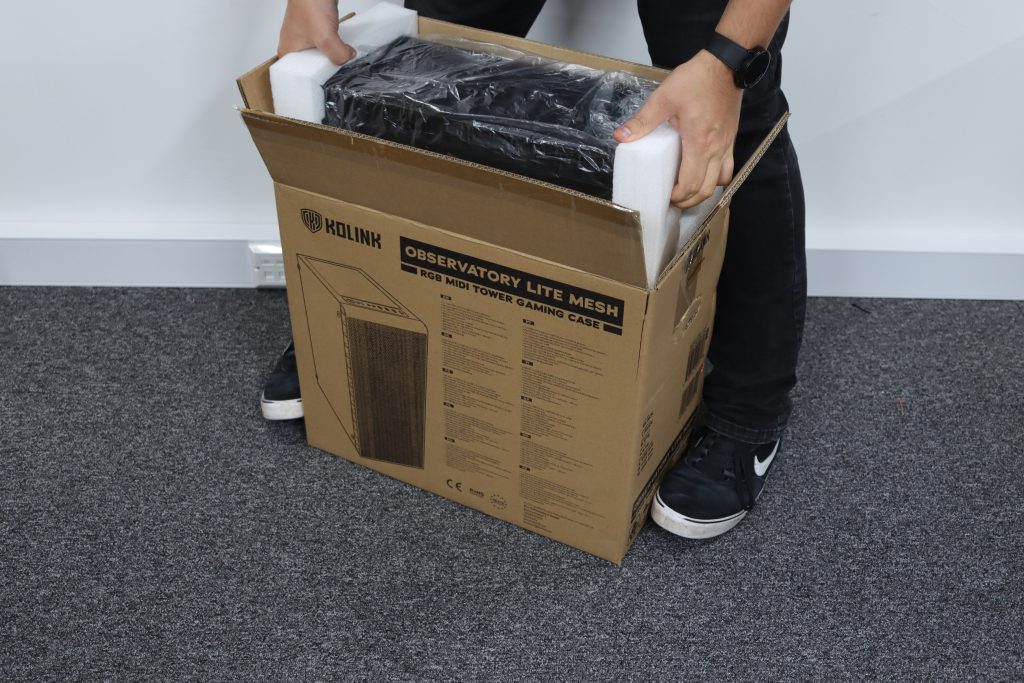
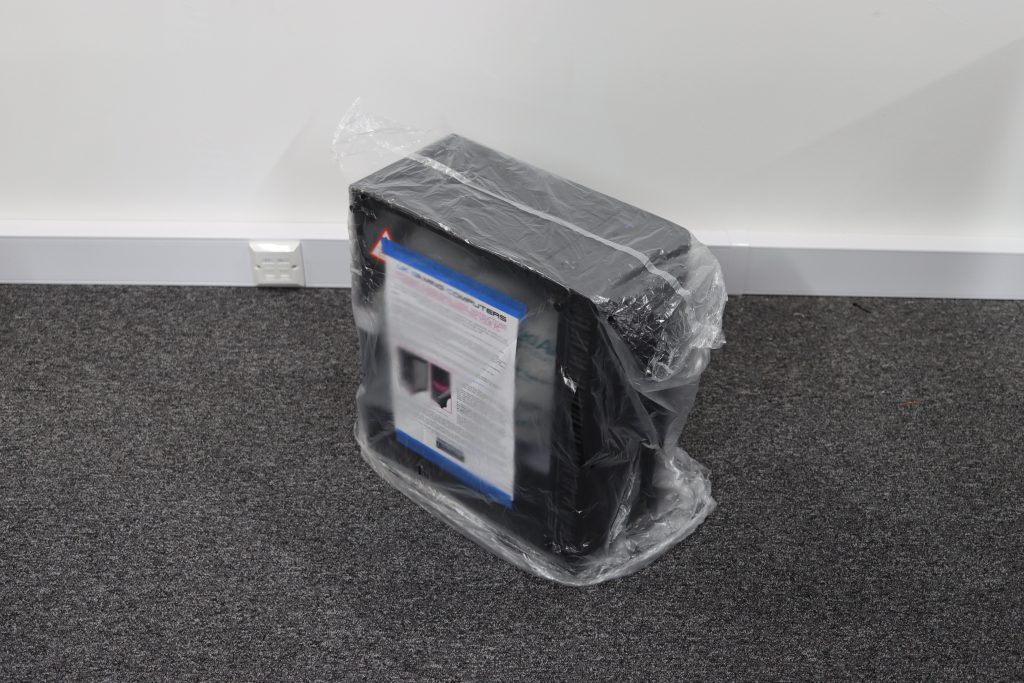
The system will have 2 moulded foam inserts around the case itself, and a protective bag, normally made out of clear plastic. Remove these foam inserts individually and the bag, and place them back inside the case box.
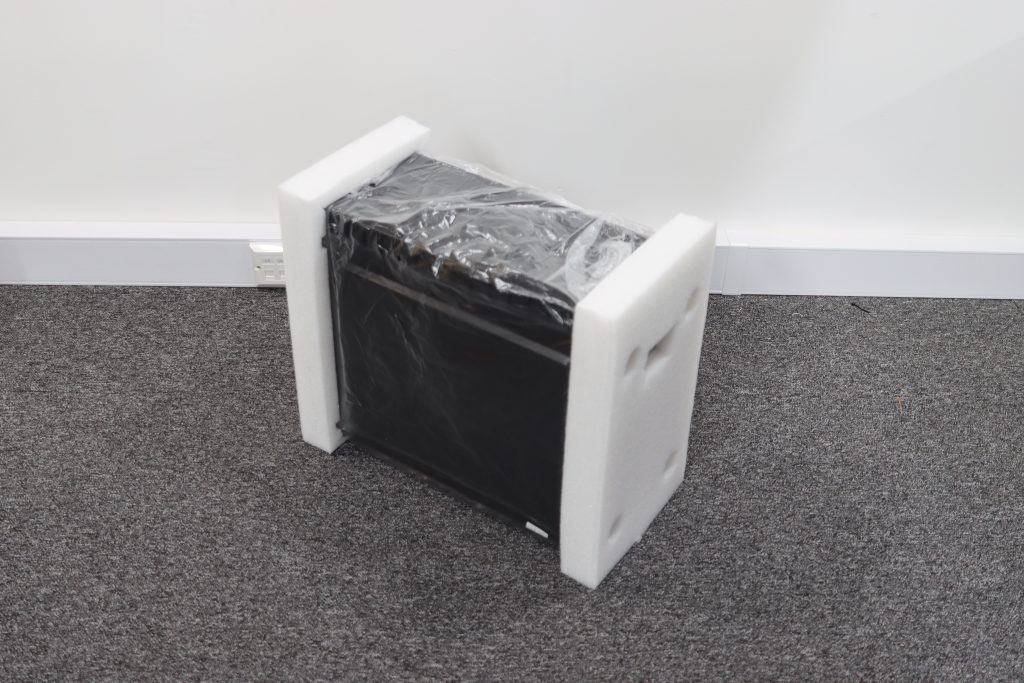
NOTE: We highly recommend keeping the original case box and the case moulded foam inside it, if you ever need to send the system back to us, this original packaging will be required in order for us to ship the system back to you, and it'll also do a great job of keeping the system safe in transit.
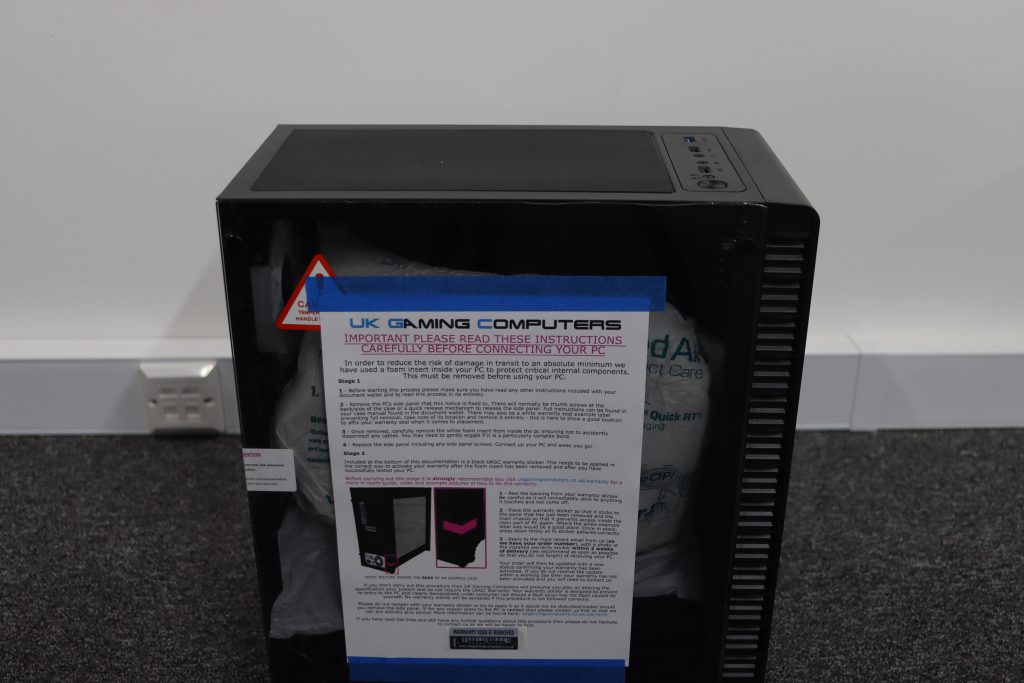
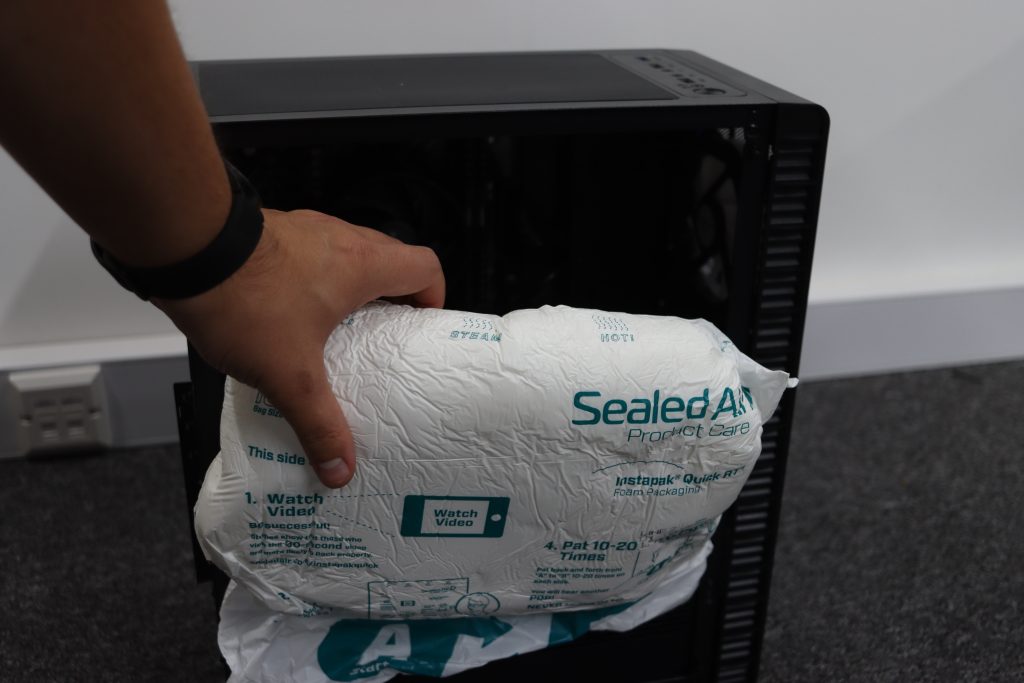
9 - REMOVING THE INTERNAL PACKAGING
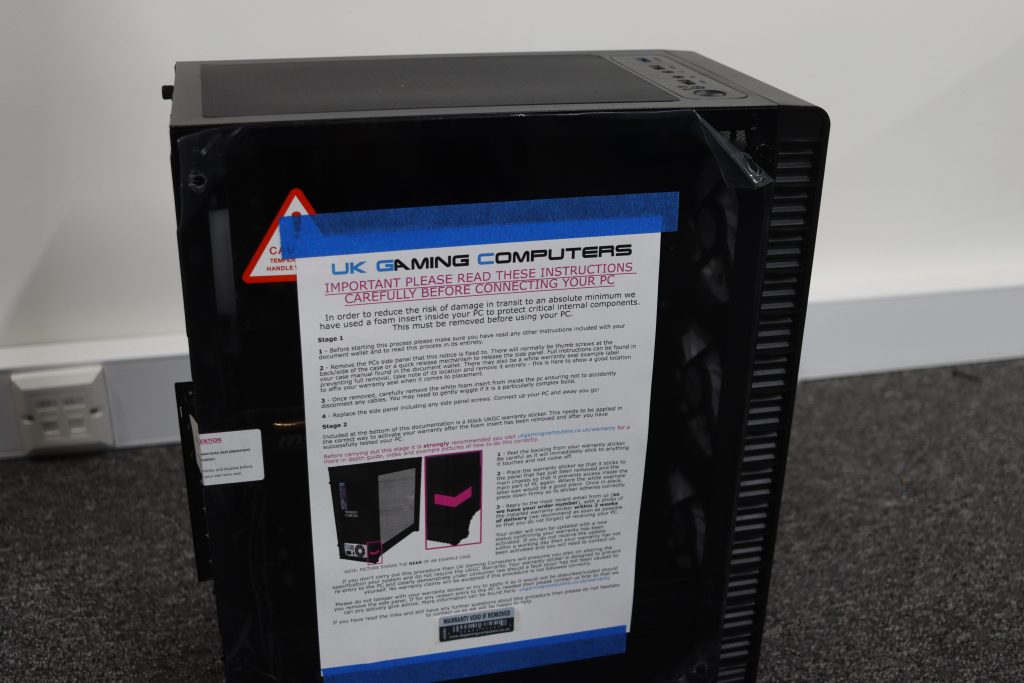
Depending on your systems configuration, it may have further protection inside the PC in the form of an "instapack" or extra foam padding. An instruction sheet will be on the main side panel of your PC, please read and follow this carefully as it details this step.
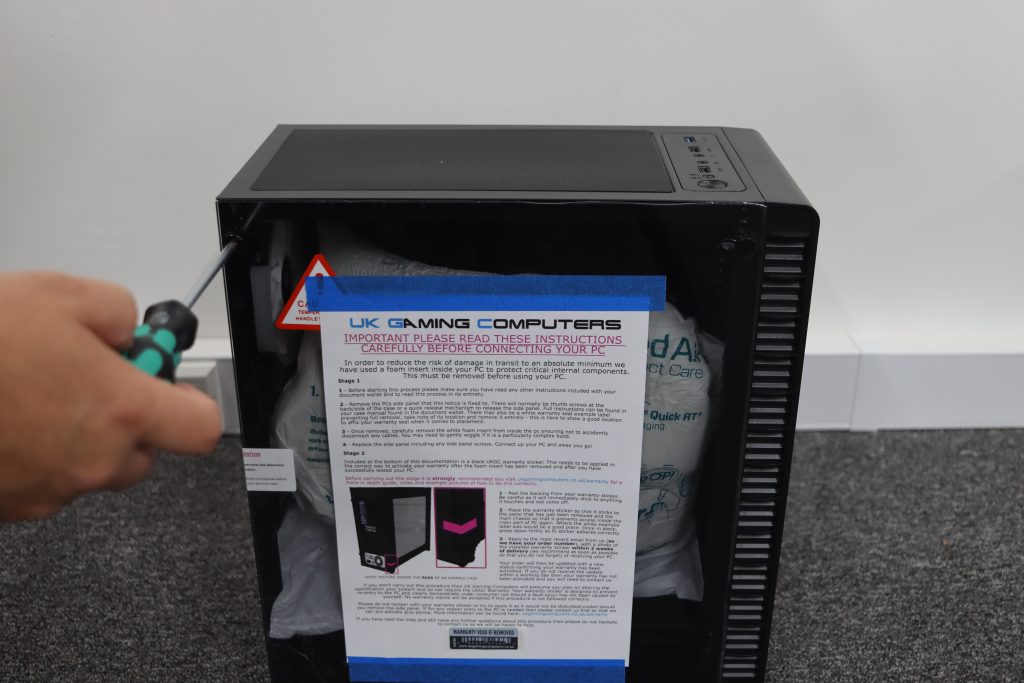
We'd recommend removing any panels on a soft surface, if a glass panel takes even a small impact on a ceramic tile or granite kitchen worktop, it could shatter due to the hardness of the material.
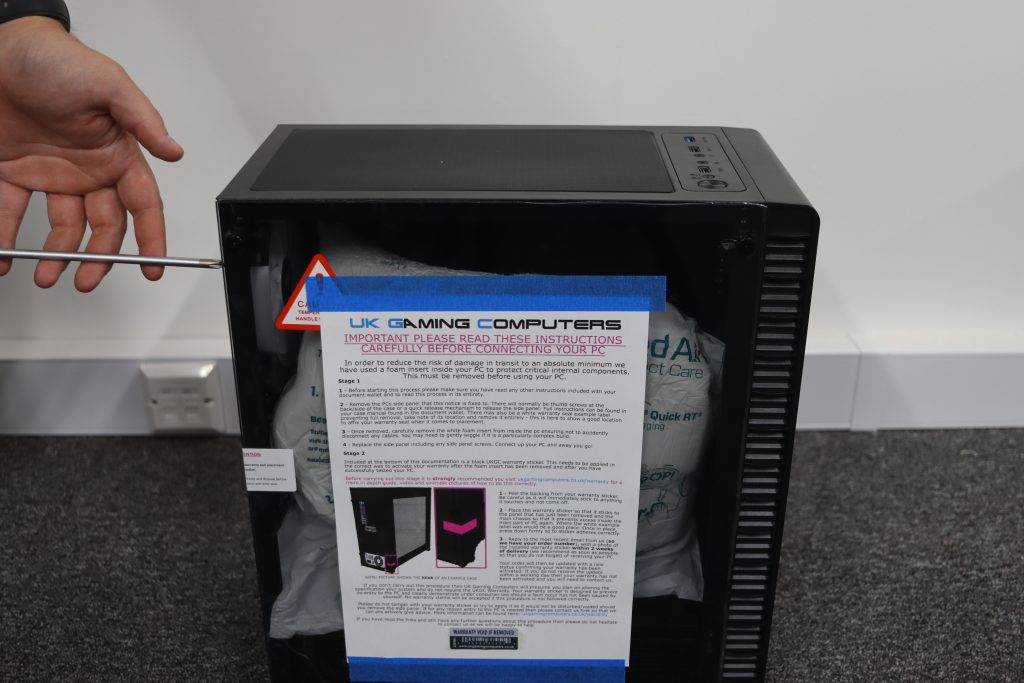
Undo the screws holding your side panel on, this could either be 4 screws in each corner of the panel/glass, or 1-2 screws at the rear of the chassis. Then, carefully remove the panel and place it to once side.
Remove the "instapak" by pulling it directly up/out of the PC. It may be easier to have the system lying with the glass/main panel facing the ceiling. The main purpose of this expanded foam insert is to stop the graphics card from moving around in transit, so fills the gaps around it.
Place your side panel back on and screw it back in
TIP: When screwing the side panel screws back in on a side panel, fold the protective plastic out of the way first, so its easier to pull of later.
10 - TESTING THE PC
We've spent many hours testing your new PC to ensure it's working perfectly by this point, however unfortunately couriers sometimes like to treat parcels without respect so we advise all customers to double check the PC is performing as it should. Download and run your favourite game and see how it performs, it'll be very obvious if there are any issues.
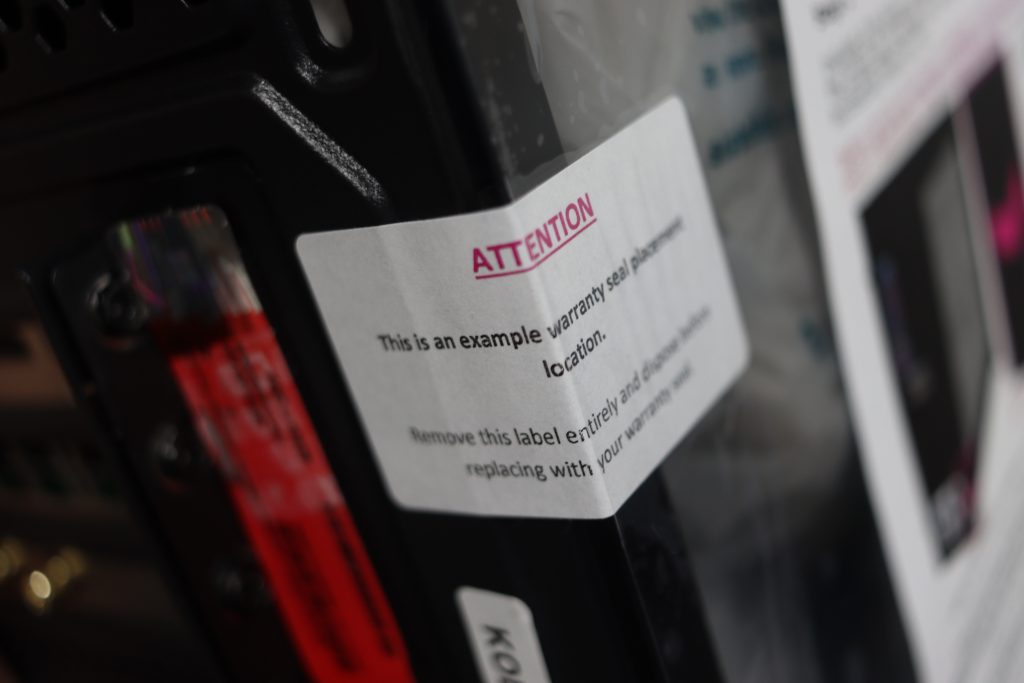
11 - ACTIVATING YOUR WARRANTY
To re-activate your warranty, you'll need to place the warranty sticker provided at the bottom of your case instruction sheet, onto the chassis itself. The warranty sticker needs to seal the panel we've just removed, to the main body of the chassis, preventing it from being opened again. We have information on warranty sticker application and further examples here. We'll also send you a reminder email in around a weeks time just incase you forget!
Once applied, you'll need to take a picture clearly showing both angles of the sticker and send it to us at sales@ukgamingcomputers.co.uk with your order number, this image needs to be sent within a two week window from the system being shipped to you. It's best to simply reply to one of your order update emails, which will already include your order number. Upon successful activation, you'll receive a final order update "Warranty Re-activated". This warranty is UK Gaming Computers' own 6 year limited warranty, not activating your warranty does not effect your statutory warranty rights.