Long gone are the days where you need a DVD drive and a disc to install a copy of Windows, now you can get all the same files on a USB drive which makes the process much easier. Here in this guide we will walk through the steps to create the bootable USB stick in order to install Windows 10 or 11 to your PC.
Before we begin, you will need a USB drive with at least 8GB of storage, remove anything you need off the USB as it will be completely wiped by the software. You will also need an internet connection to download the required files.
Also please note this guide is for Windows PCs only.
Step 1
First you will need to download the Windows Media Creation Tool from the Microsoft Website, a direct link to the download link can be found here.
Step 2
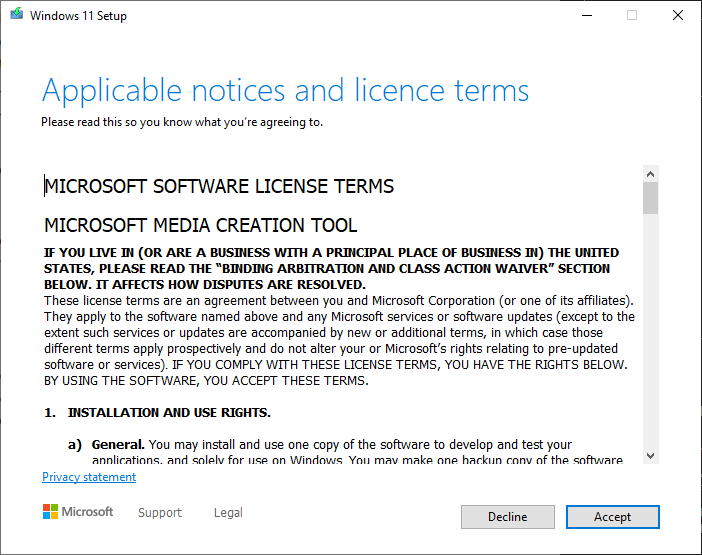
Once downloaded, run the file which will be called "MediaCreationTool####.exe", the #s representing the Windows version, so at the time of writing this guide the file name was "MediaCreationToolW11.exe". The image below will be the first step you see, all you need to do here is click accept to agree with Microsoft's license terms.
Step 3
If you haven't already, here is where you want to plug in your USB drive to the PC. After this has been done, select "Create installation media (USB flash drive, DVD or ISO file) for another PC" and press next. If the system you are using to make your bootable media does not meet the "Upgrade this PC now" system requirements then this page won't show and you can skip this step.
Step 4
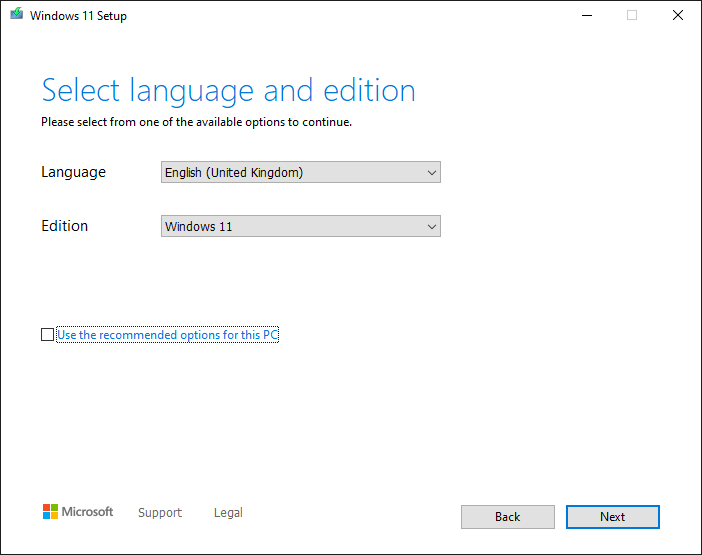
The next step is to select the language, architecture and edition. For any UK Gaming Computers PC you will want to select "Windows 11" as the Edition and any language you like. If you want to install a different version of Windows, like Windows 10, select that here. For this example we will be sticking with 11.
Step 5
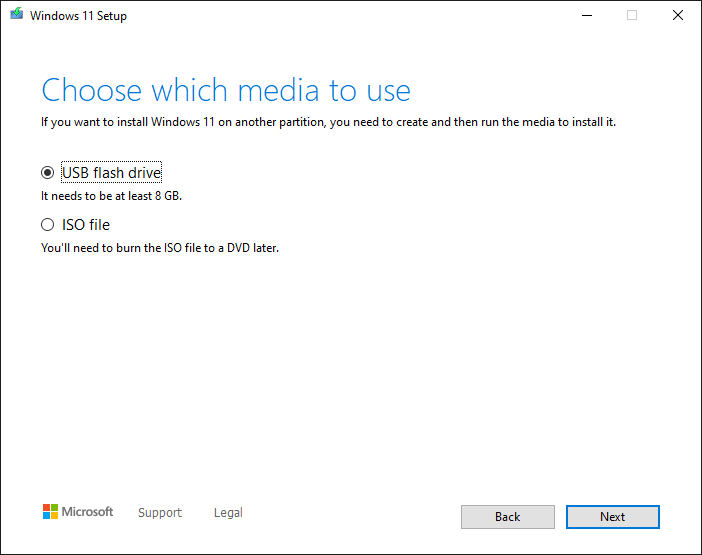
The next step you should select the "USB flash drive" option and press next.

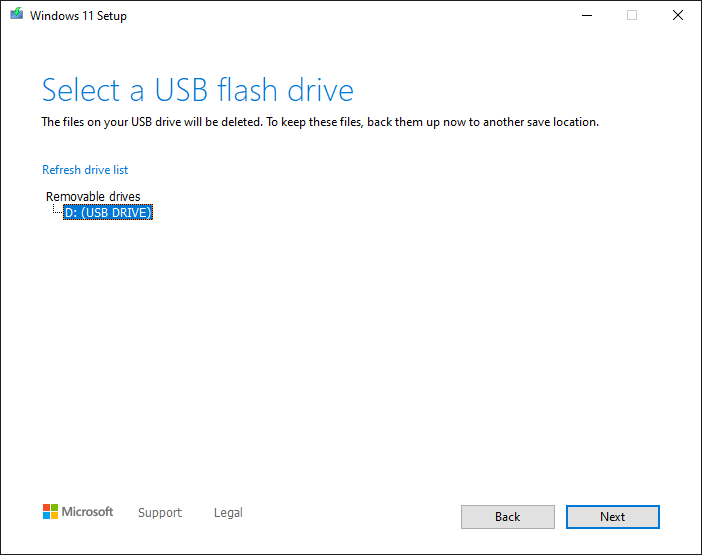
Step 6
On the next screen you will need to select the USB flash drive you wish to use, for us is was "D: (USB DRIVE)" but this will change depending on what USB port you have it plugged in to, and the model of USB drive you are using. There will usually only be one option on the list, but if there is multiple you should be able to work out the correct one by looking at the name of it. For example if it's a Kingston DataTraveller USB drive, you would see "(DataTraveller)" instead of the "(USB DRIVE)".
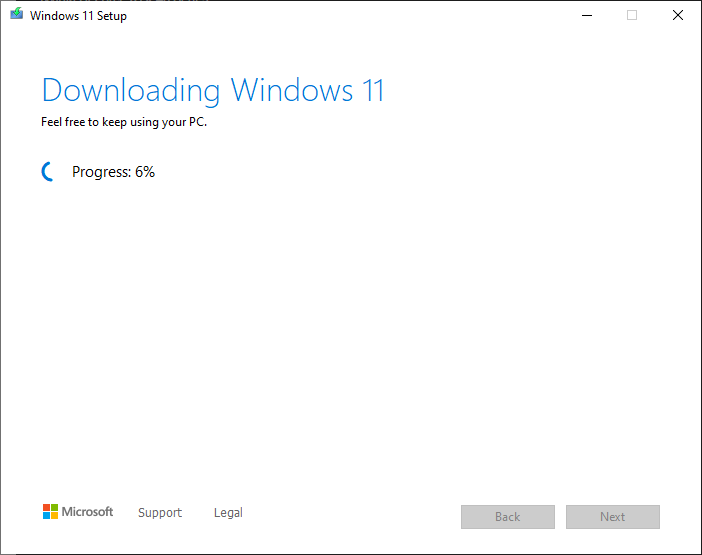
Step 7
All you need to do now is let the installer complete, which can take up to 15 minutes.
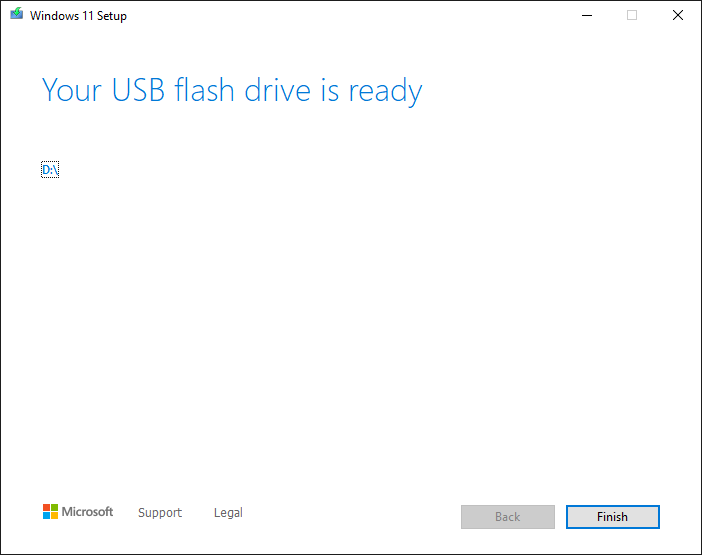
Once the installer has finished, you will be greeted with a screen that says "Your USB flash drive is ready", which means your USB drive is now bootable and ready to install Windows 11 to your PC!
If you need further assistance installing Windows 11, we also have a guide for that which can be found here!
Last Updated: January 2024