Firstly, in order to install Windows 10 you will need your boot media, this will either be in a disk form or as a modern USB drive. If you don't have either, check out our guide on How to create a bootable Windows 10 USB then come back to this guide. We also recommend updating your bootable media if it is out of date to avoid installation and driver issues. To see how to do this follow the previous link. Once you have your boot media, you are ready to begin the installation process.
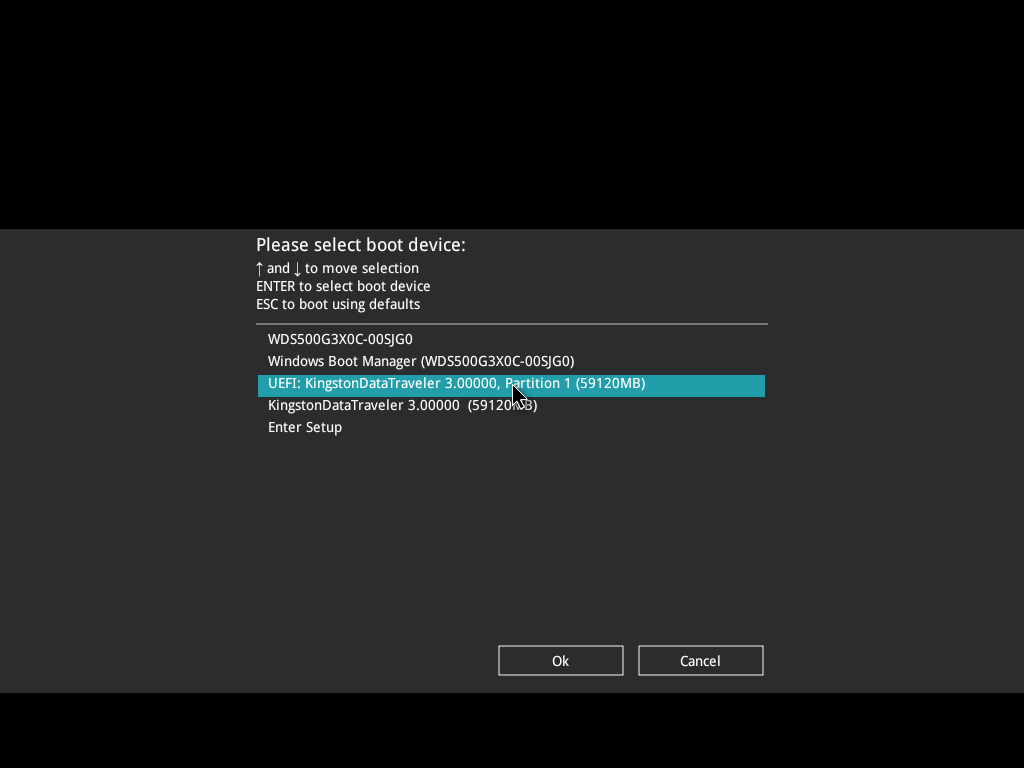
Step 1 - Selecting your boot media
Once you have your boot media created using the guide linked above you can now start installing. The first step is to boot directly into your USB device (or disk) from the UEFI BIOS.
Start by plugging your newly created boot media into the PC you are installing Windows to. From an off state, turn your PC on and continuously press the "F8" key on your keyboard to enter the Boot Menu and select your bootable USB device*.
*Please note non-UEFI installations may require CSM compatibility. All of our guides focus on UEFI installations for better compatibility. The hotkeys mentioned above are for Asus motherboards. For Gigabyte motherboards use "F12" to access the boot menu.
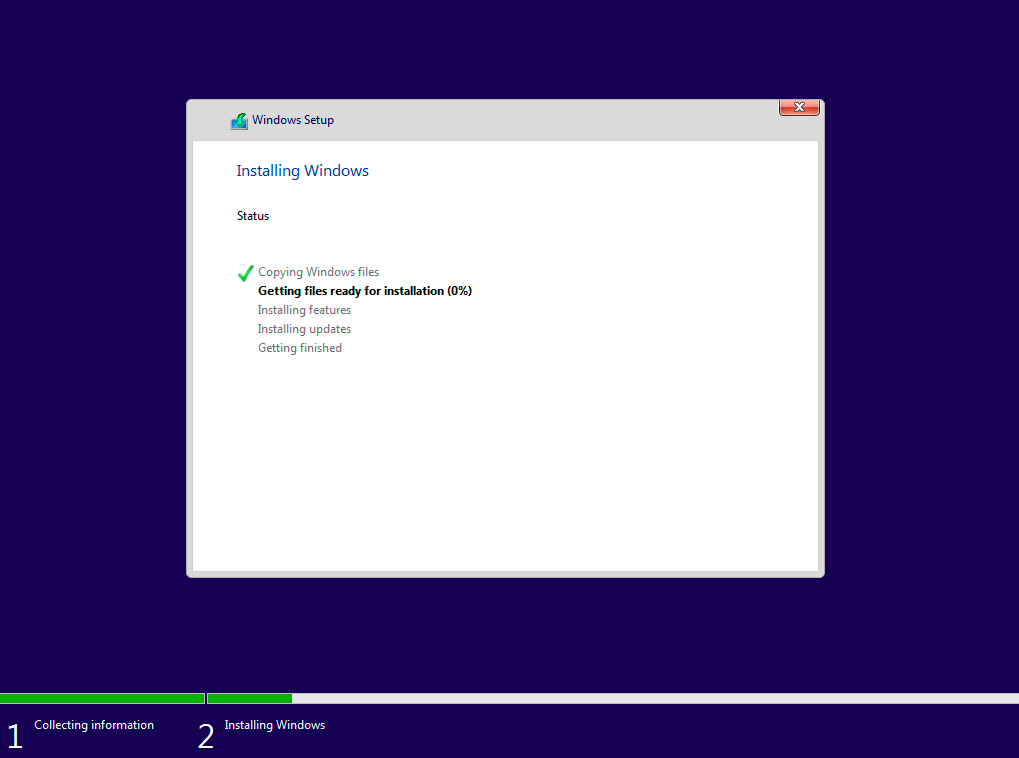
The Windows installer will now begin to load. Depending on the speed of your disk or USB device this initial load can take some time so don't worry if your PC hangs on a logo screen for some time before reaching the next step.
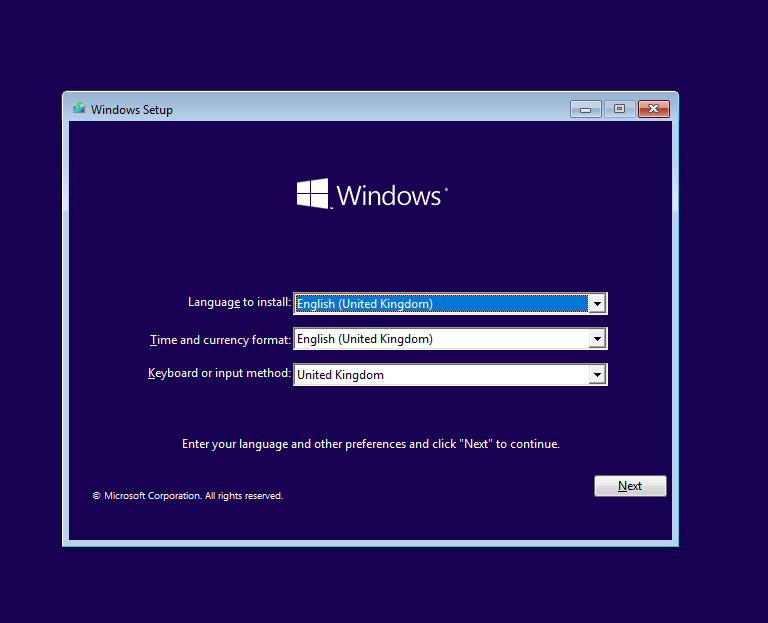
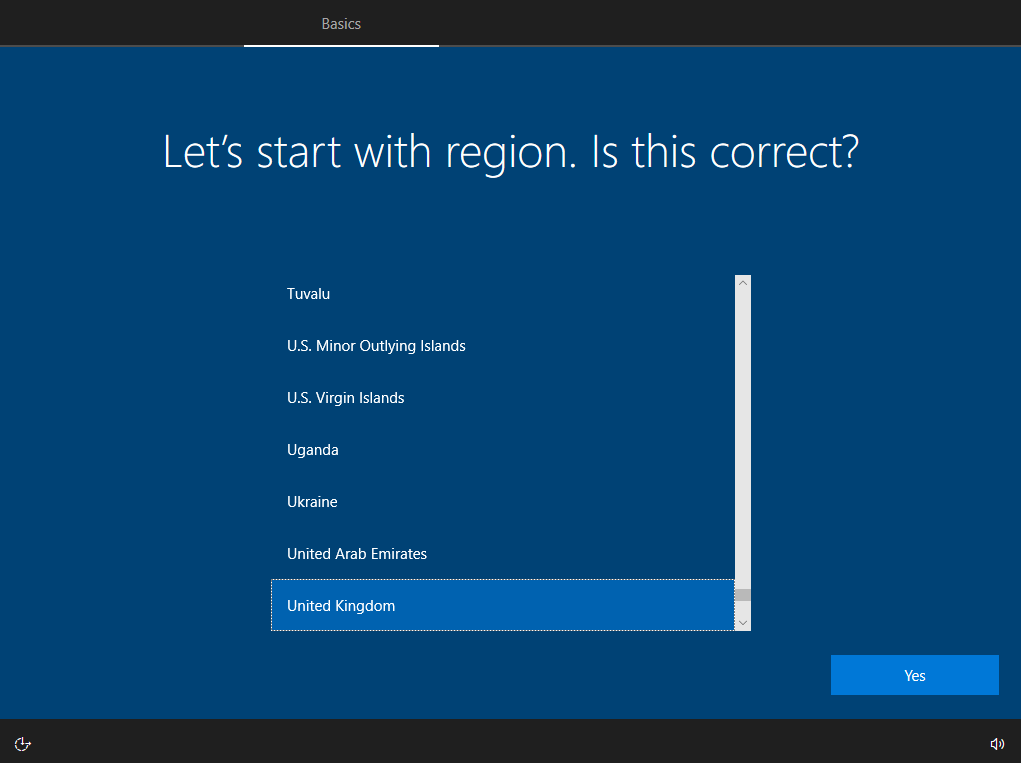
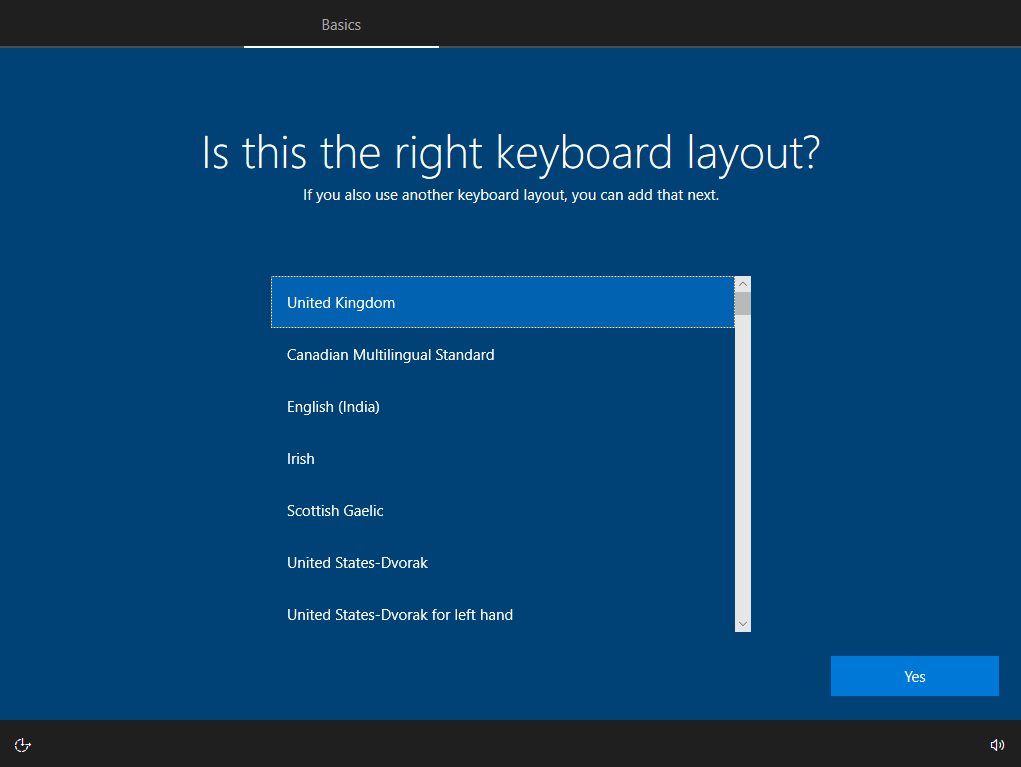
Step 2 - Regional options
Windows will load up the installation program and the first options to select are the Language, Time & Currency format and the Keyboard or input method, you should then be able to set these to your region – English (United Kingdom) in the case of UK Gaming Computers PCs for Language and Time & currency and United Kingdom for the Keyboard or input method.
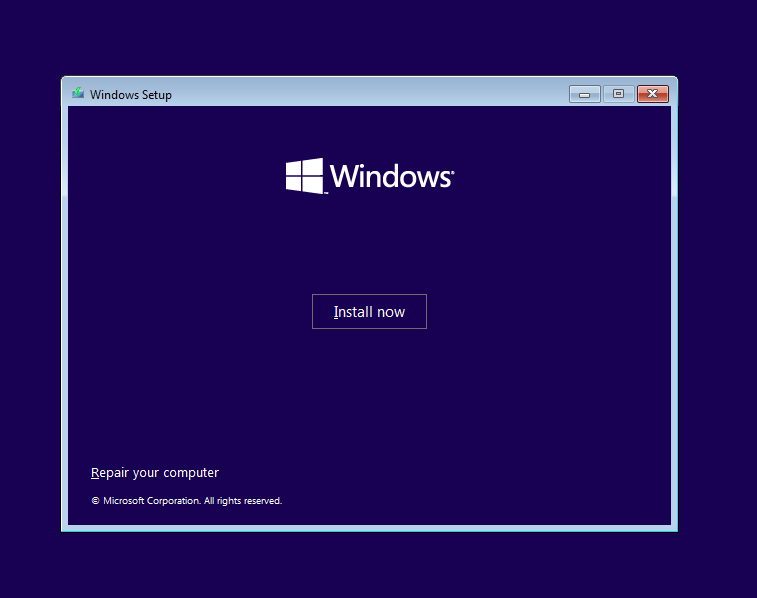
Step 4 - Install now
The next screen gives you the options to Install now or Repair your computer. In this case we want to Install now as we are doing a clean installation of Windows.
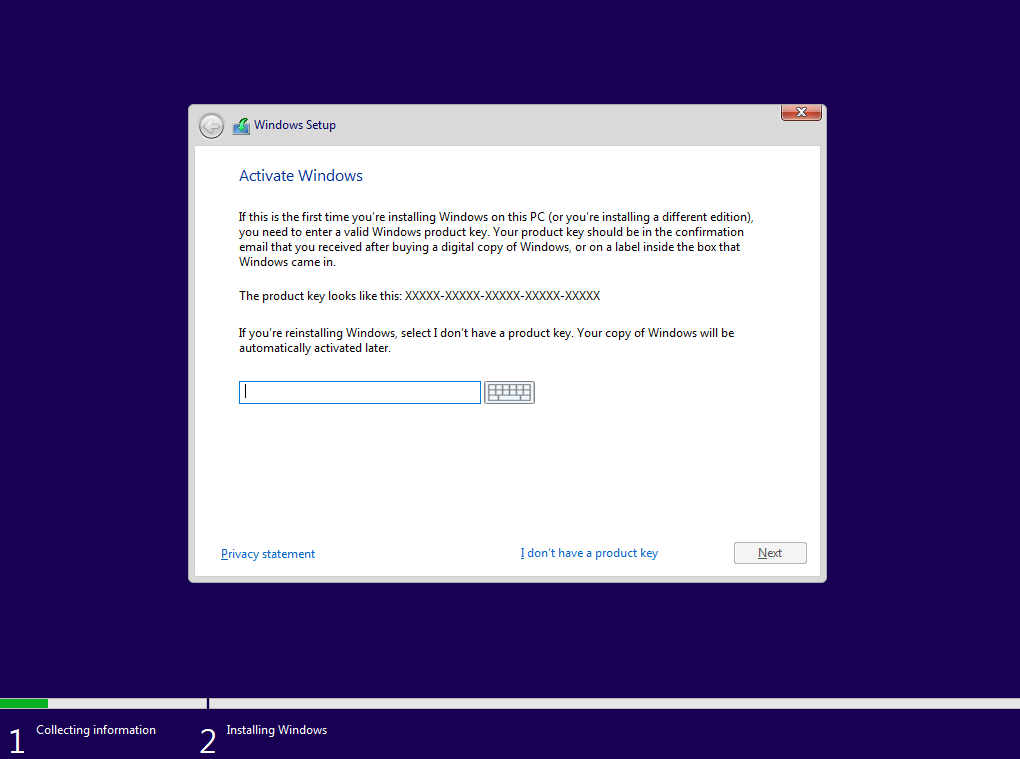
Step 5 – Product key
This should be quite straight forward, as it is where you input your product key. If you ordered a system from us, then your product key was fixed to the back of your PC. If you have ordered Windows 10 elsewhere then it should have been supplied with your purchase.
You also have the option to continuing without a product key (if you haven't already purchased it), at the bottom of the screen you have the option to click on I don’t have a product key, which will continue the installation without the need for further input.
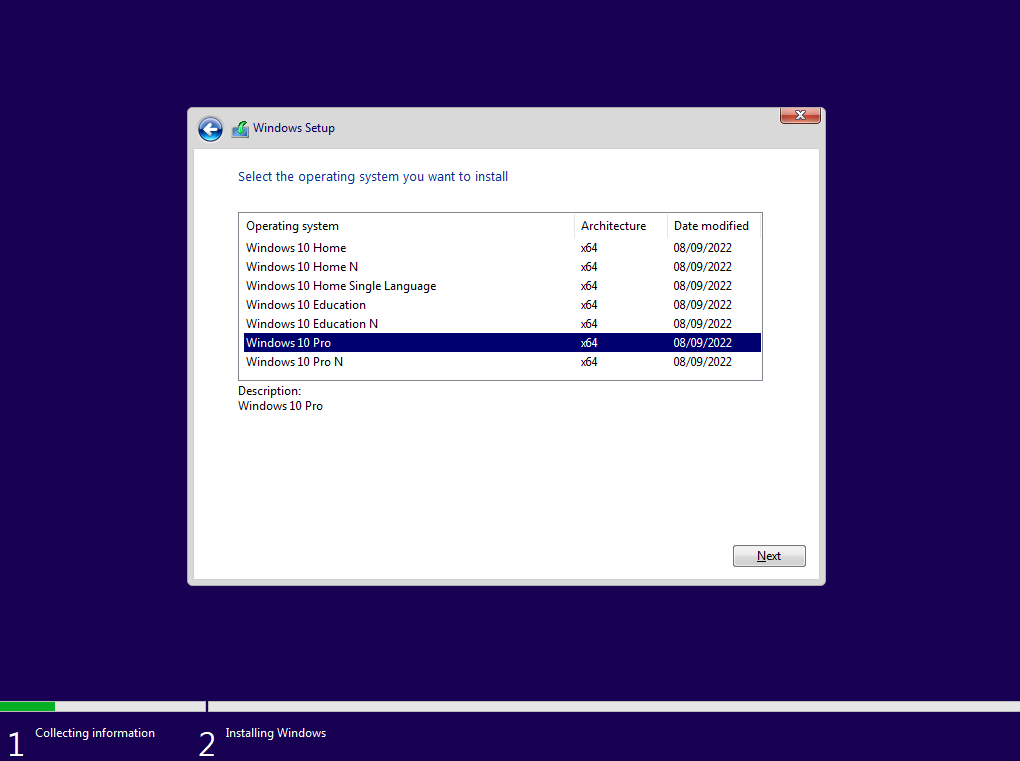
Step 6 – Select the Operating System
The next screen won’t always be shown as it will depend on how you are installing Windows. If you are using a Disc or have entered a product key it will automatically know what version of Windows 10 you are installing and therefore won’t need any further input, otherwise you will need to select between the different versions.
If the wrong one is selected you will find that Windows will not activated via Microsoft’s Digital entitlement process, so make sure you select the correct one if you do not have you product key when reinstalling Windows 10.
For the purpose of the guide we will be selecting Windows 10 Pro.

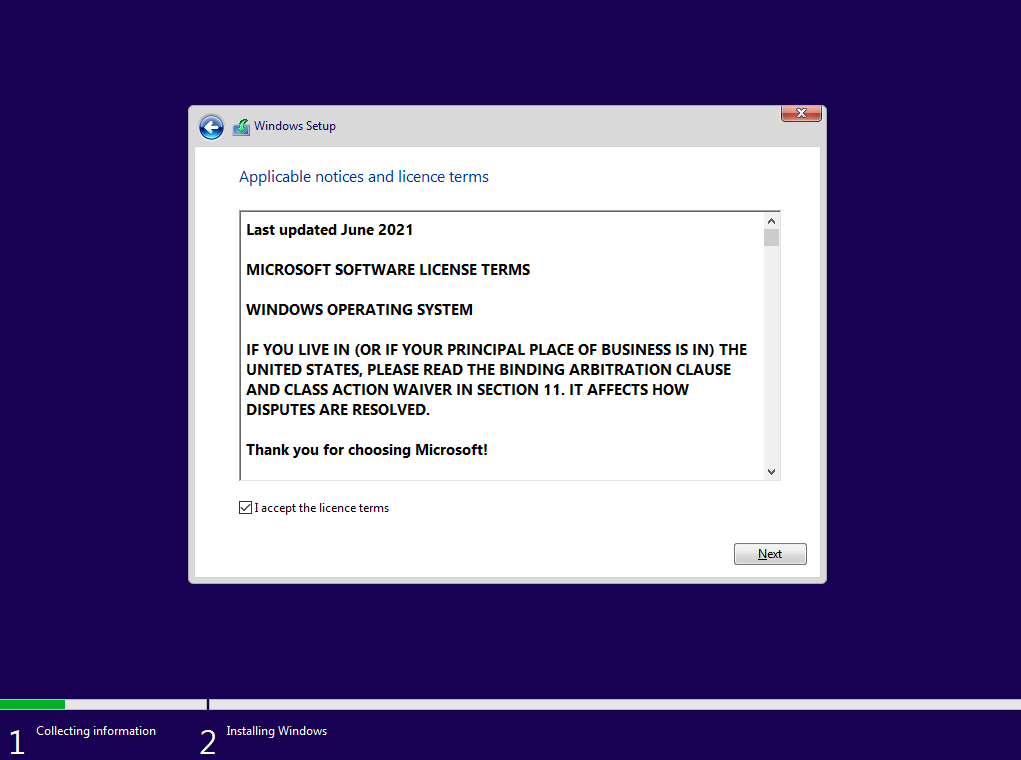
Step 7 – Licence Terms
Next are details of the licence terms that you should read through (if you really feel the need) you will have to tick the box next to I accept the licence terms before you can continue.
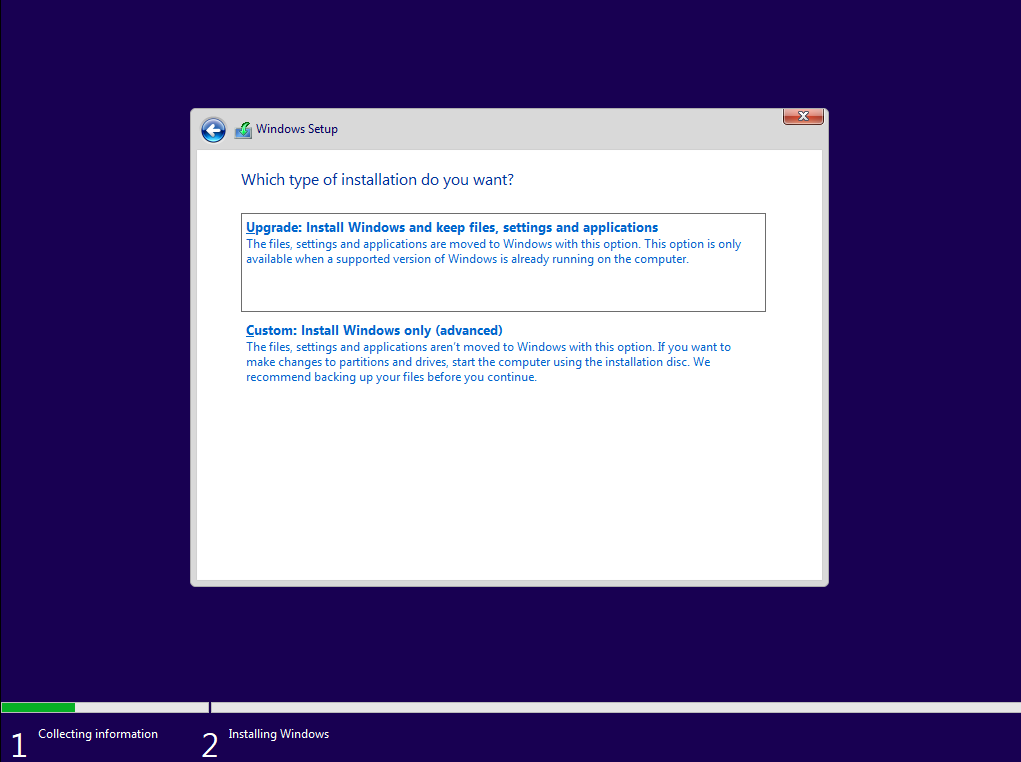
Step 8 – What type of installation do you want?
You now have two options to either Upgrade: Install Windows and keep files, settings and applications or Custom: Install Windows only (advanced).
For a new installation of Windows or if you want to do a clean reinstall of Windows, you will always need to choose the Custom: Install Windows only (advanced) option.
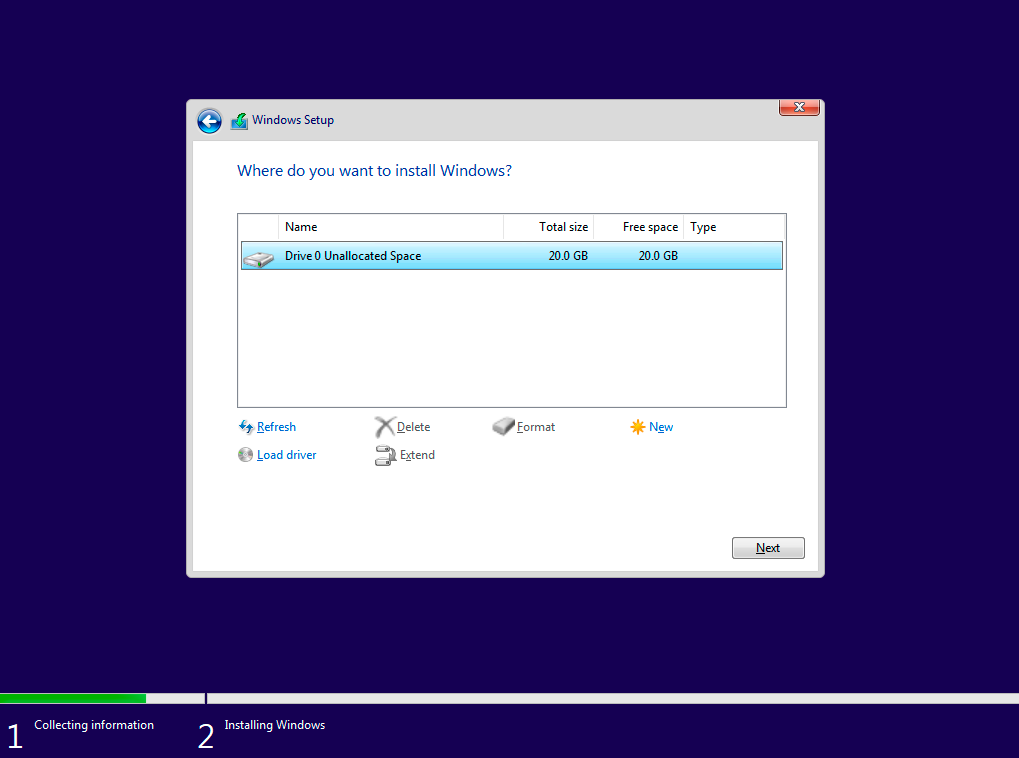
Step 9 – Where to install Windows?
On the next screen you will now need to select where you want to install the operating system, here will be displayed all the hard drives installed in the PC along with any partitions created on them.
All installed hard drives will be listed here with a name starting as Disk, these will start with Disc 0 and subsequent hard drives appears as Disk 1, then Disk 2 and so on.
Next to the hard drive name it will either state Unallocated Space – if the hard drive or part of it is no formatted or it will show as a Partition with a number from 1 upwards, if the hard drive has been formatted or partial formatted. If there are more partitions these will be labelled 2 and upwards.
For a new installation your hard drive should show as Unallocated Space next to it, you just need to select the hard drive and click on next to start the installation process.
If you need to reinstall windows, then your hard drive should have multiple lines showing with Partition 1, Partition 2 and so on next to it, as Windows installations will create multiply partitions on the hard drive during the installation process. You will need to delete all of these partitions so that the hard drive then shows as Unallocated Space, you can then click on next to start the installation process.
If there is more than one hard drive in the PC then you will need to make sure you select the correct hard drive when installing Windows, this is even more important if you have any data on a hard drive that you want to keep, as deleting a partition will delete all the data on that part of the hard drive. If you have any data on a hard drive that you want to keep then this will need to be copied off the hard drive before you reinstall the operating system.
Step 10 – Off it goes
Windows 10 will now be installed to the selected hard drive, this can take as little as 2 minutes in some cases, or up to 30 minutes.
Step 11 - Regional options, again...
We're not too sure why you have to select your regional options for a second time, but you do!
Step 12 - Keyboard layout
Change your keyboard layout to whatever your keyboard uses, which will probably be "United Kingdom"
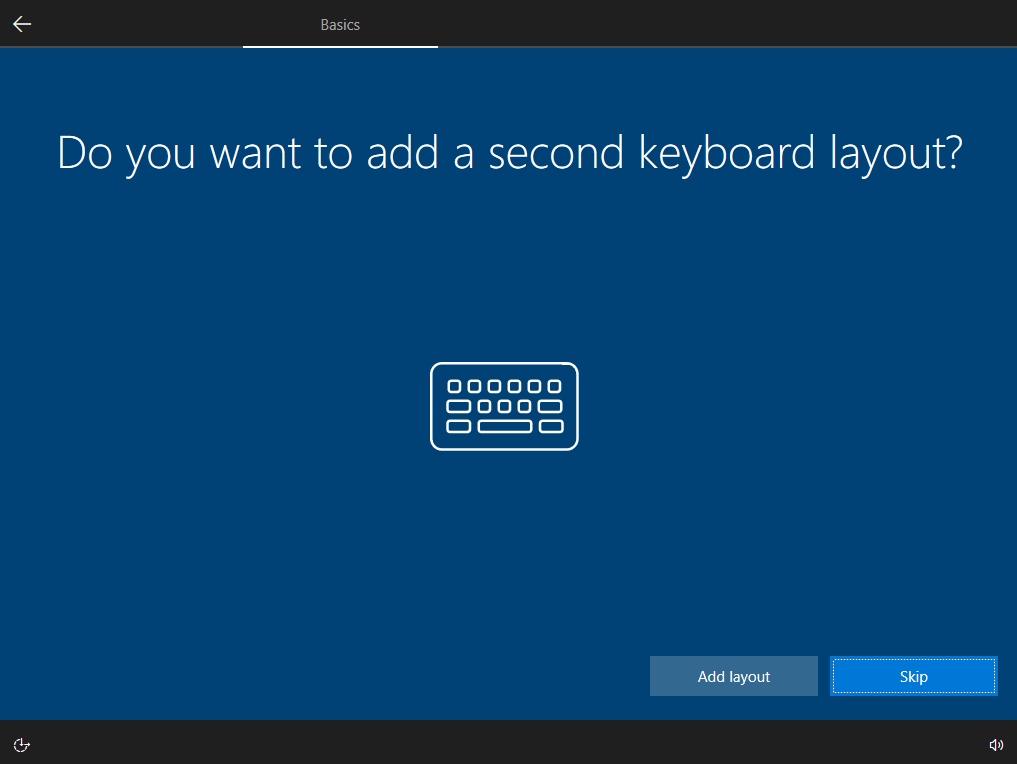
Also you don't need to set any additional keyboard layouts, this is easy to do within Windows if you wish to.
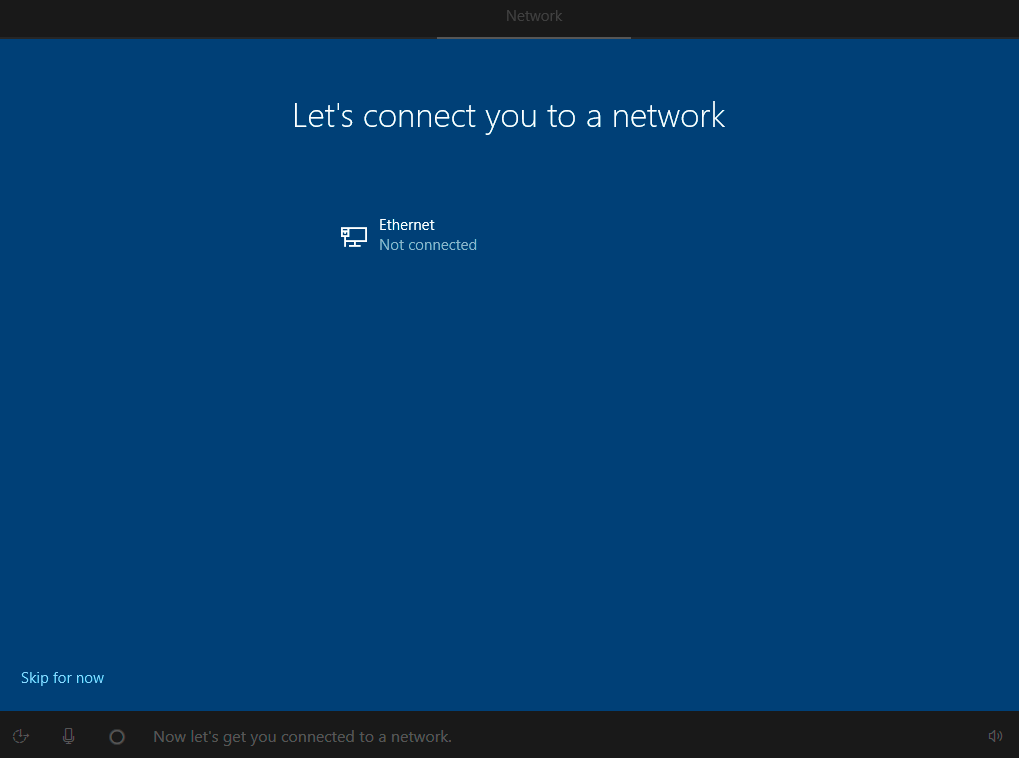
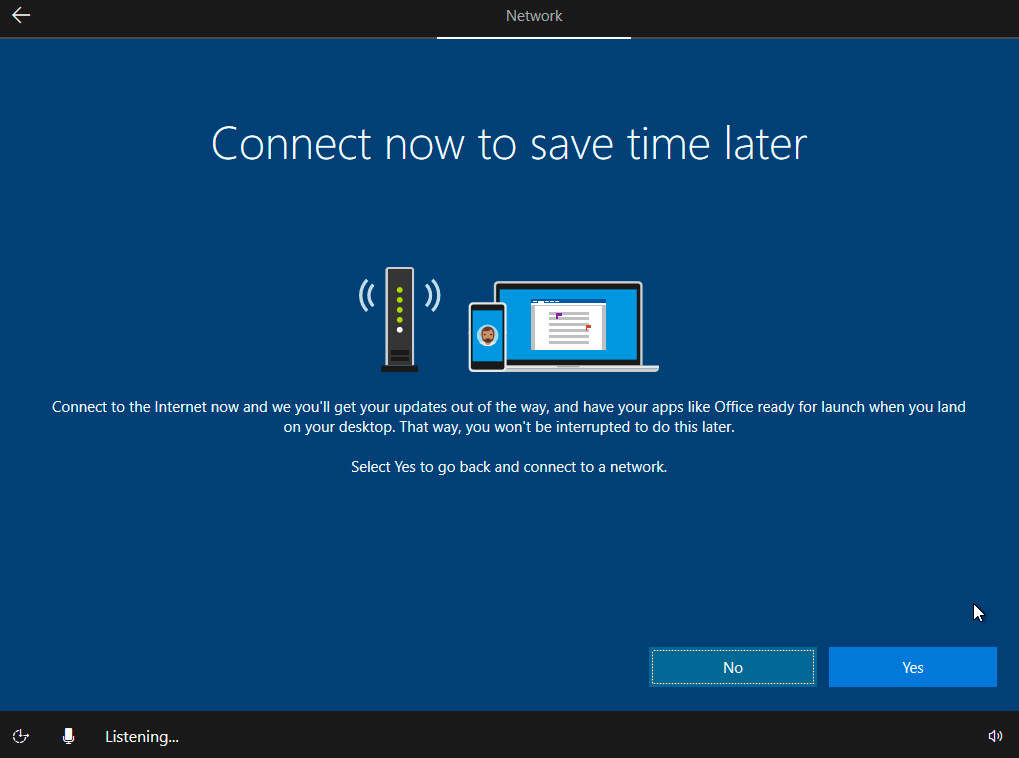
Step 13 - Network connection
Here you can connect to a network, there really isn't any need to do this here as it only makes the installation process longer. We would even recommend unplugging the network cable if you have one plugged in so you see the same as the screenshot below.
Don't believe the installer. Click "No" on this bit.
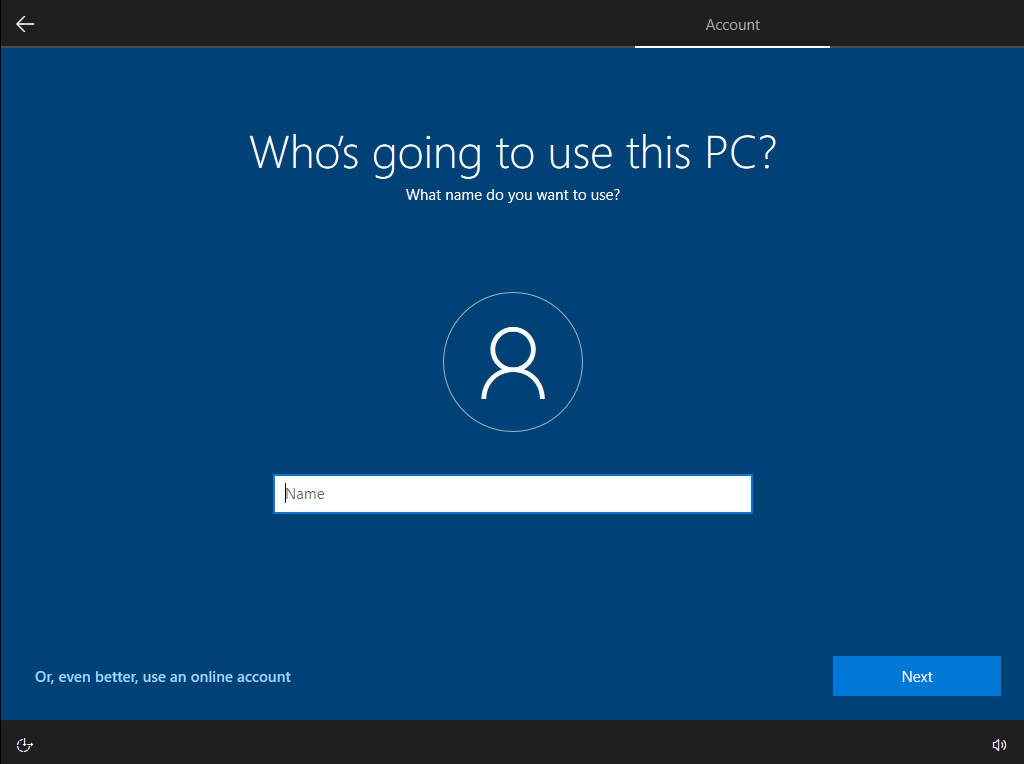
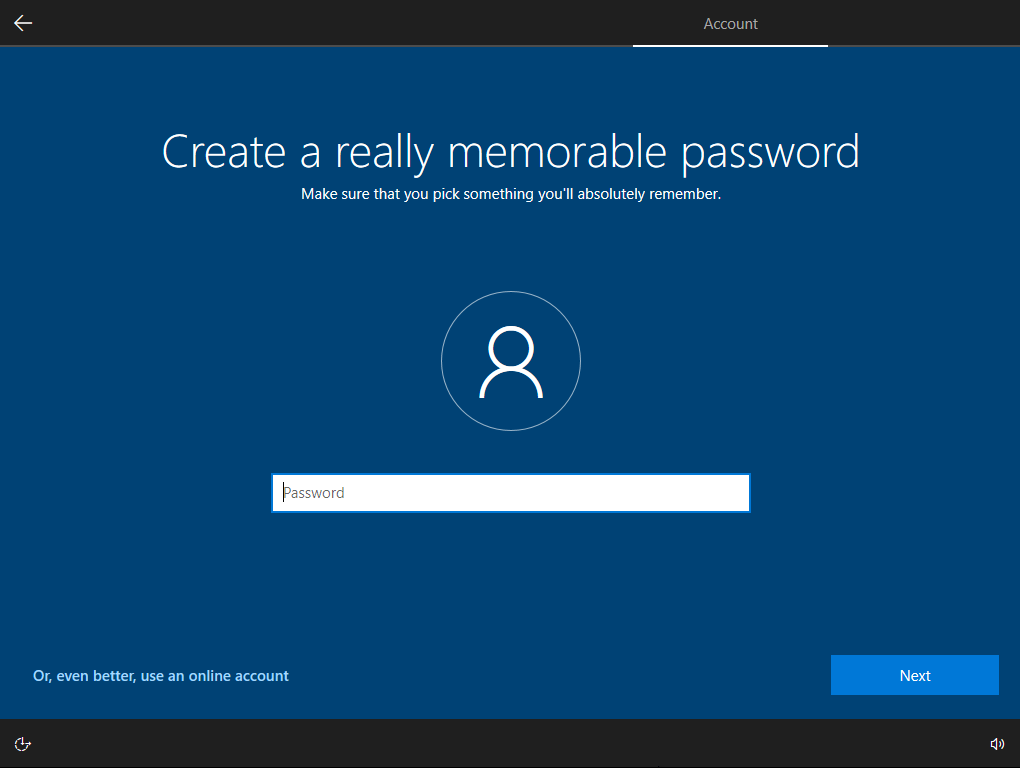
Step 14 - Username and password
This bit is up to you, set your Username and Password to whatever you like. If you don't want a password just leave the password field blank, like we did in the screenshot.

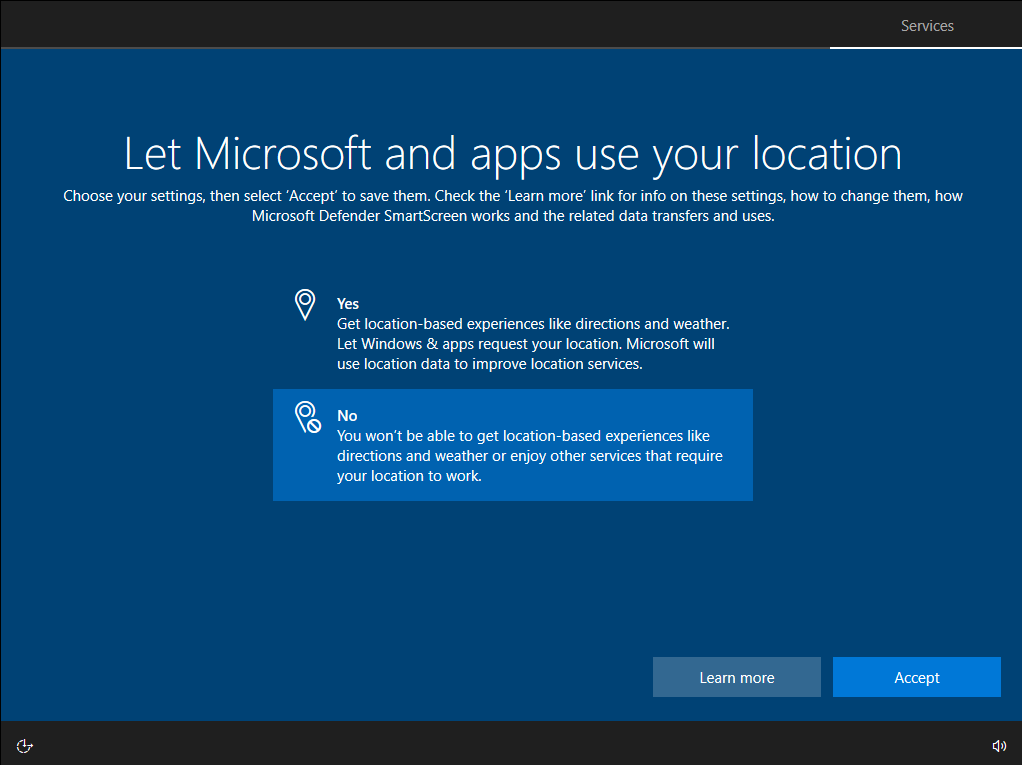
Step 15 - Location services
We send out all of our PCs that come with Windows 10 with this set to "No", we suggest you do the same.
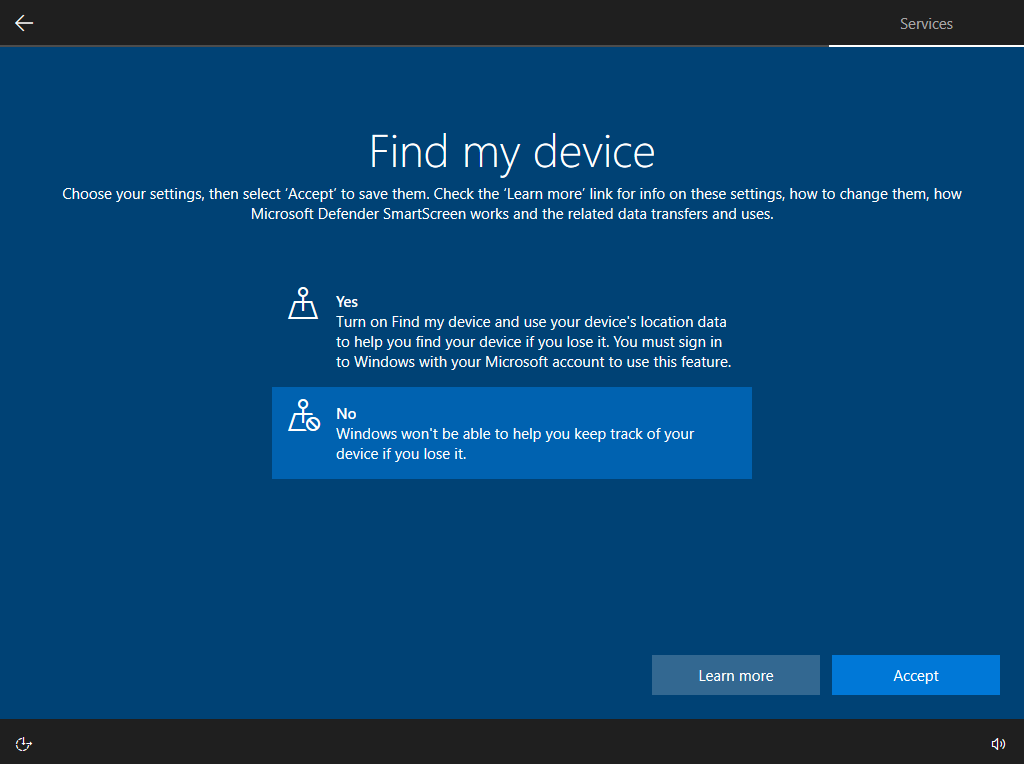
Step 16 - Find my device
If you're reading this article you more than likely have bought a PC from UK Gaming Computers and are needing to install or reinstall Windows 10. We'd be impressed if you managed to lose your PC in the first place, but if you did this setting would unfortunately not help you find it. Select "No" and continue.
Step 17 - What data to send to Microsoft?
Choose "Basic" here and continue.
Step 18 - Improve inking & typing
This option isn't relevant to our installation, just click no and continue.

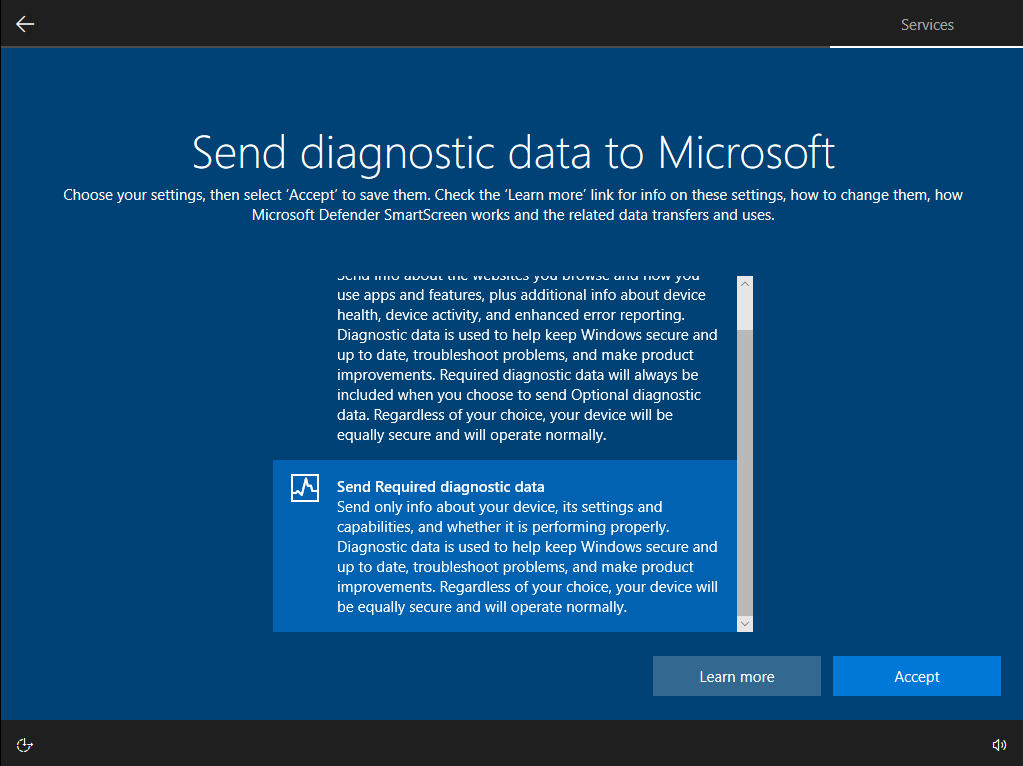
Step 19 - Diagnostic data
You guessed it, click "No" and continue.
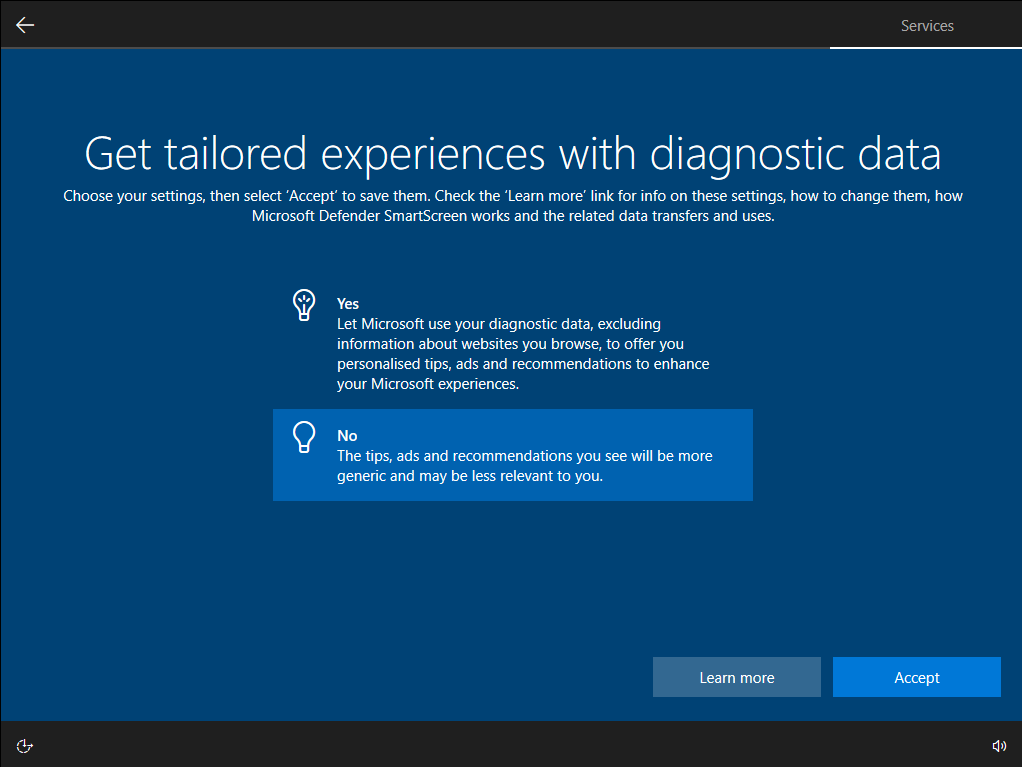
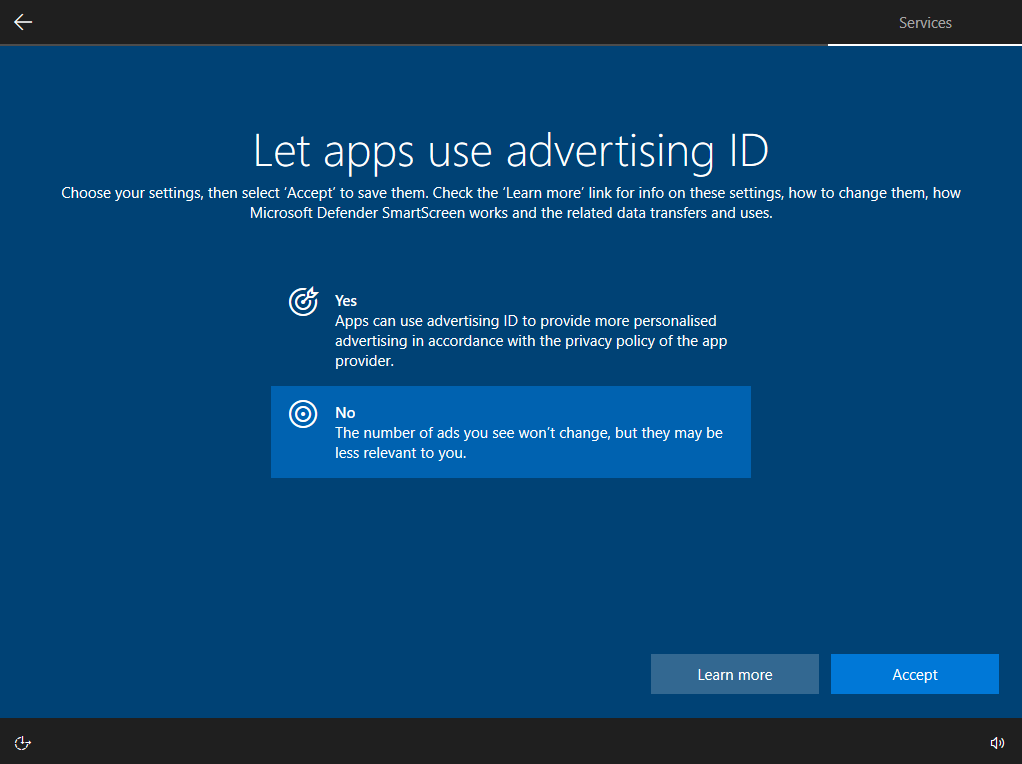
Step 20 - Advert settings
For the final time, click "No" and continue.
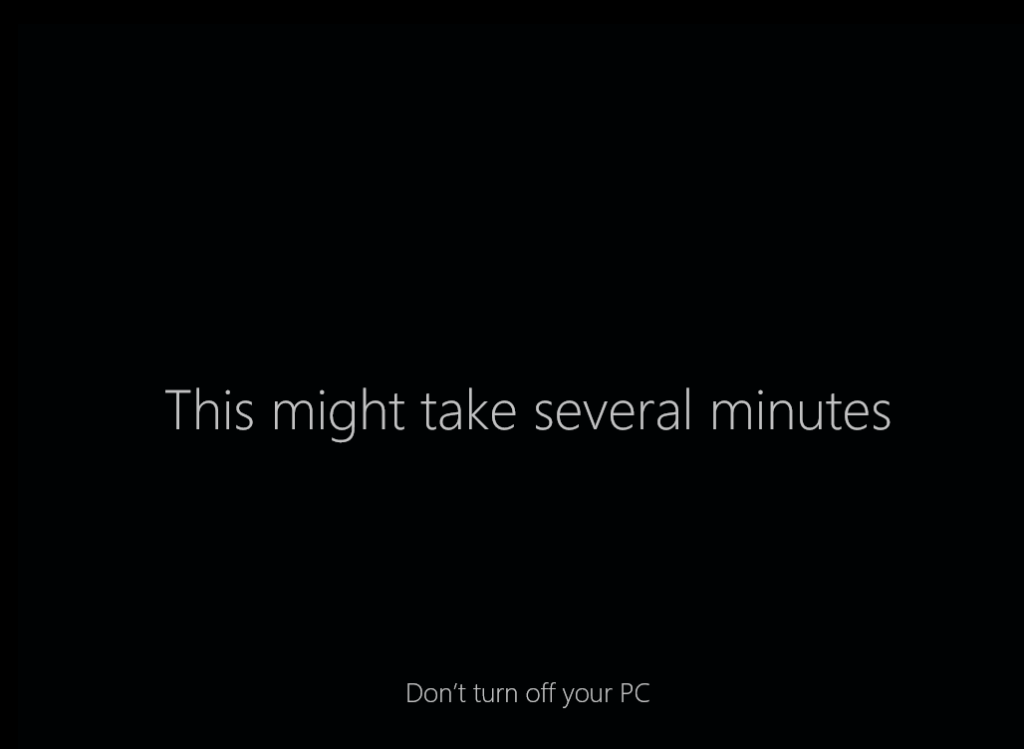
Step 21 - Leaving Windows to finalise the installation
That's all the settings that need to be changed now, Windows will do the final setup which can take up to 10 minutes.
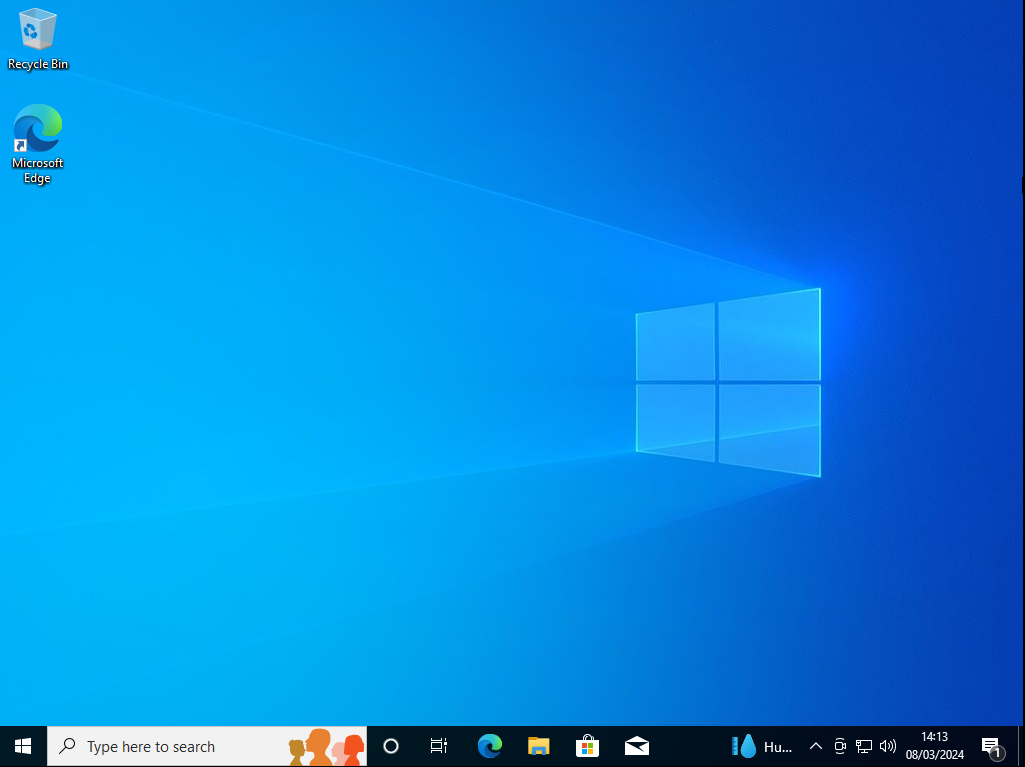
Done!
And you're all done, you now have successfully installed Windows 10 to your PC!
Don't Forget
From the desktop you’ll then need to install the drivers for the components in your PC, these will usually be included on discs that come with the PC, but we do recommend downloading the latest drivers from the component manufacturer’s website. As general overview you will want to install the chipset drivers from the motherboard manufacturer website and the graphics card/Nvidia/AMD driver. For ease of use you can also simply connect the PC online and then run Windows updates multiple times - more often than not it will install most if not all relatively up to date versions of the drivers automatically for you.
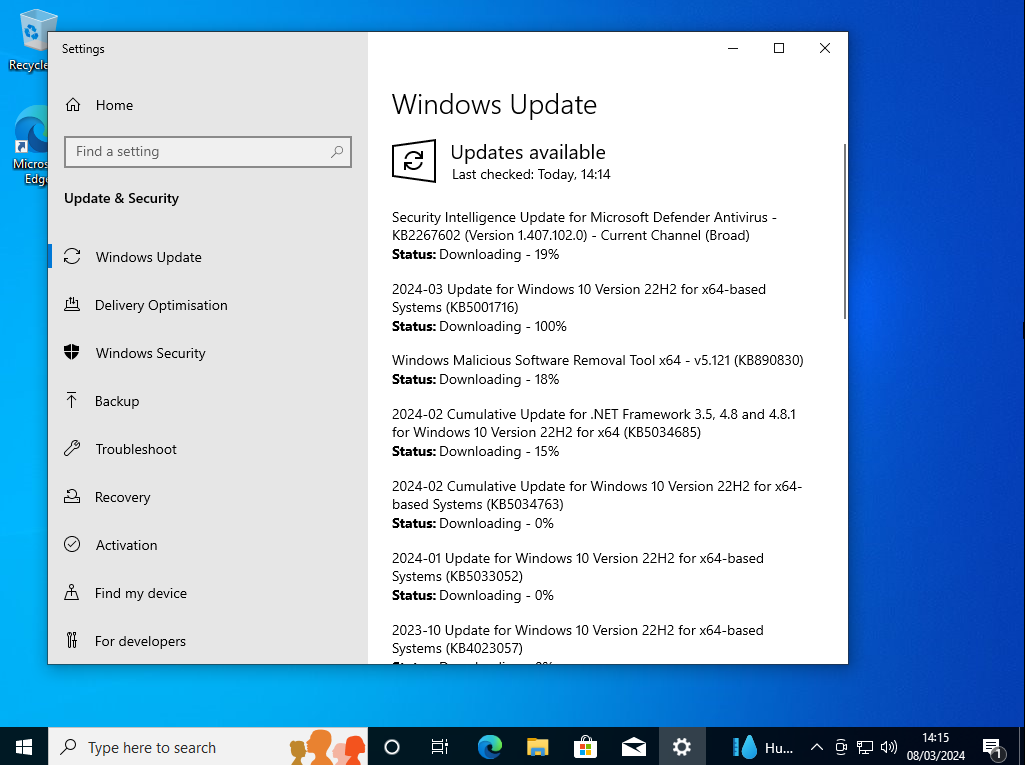
For the majority of UK Gaming Computers systems. You can find your motherboard support page via this Asus website here and download the latest drivers if needed.
Last Updated: March 2024